Design Canvas Templates with Text, Shapes, and Images
The template composer is where you build the actual content of a canvas template. It works on a JavaScript canvas: you place text, geometric shapes, and images, style and arrange them, and save the result. When a template is rendered for playback, the canvas is stored as an image file in JPG, PNG, WebP, or BMP format.
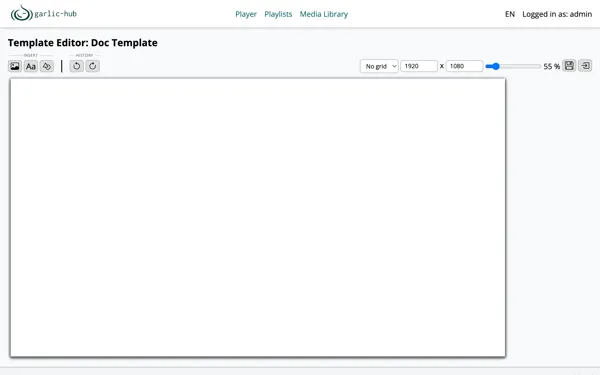
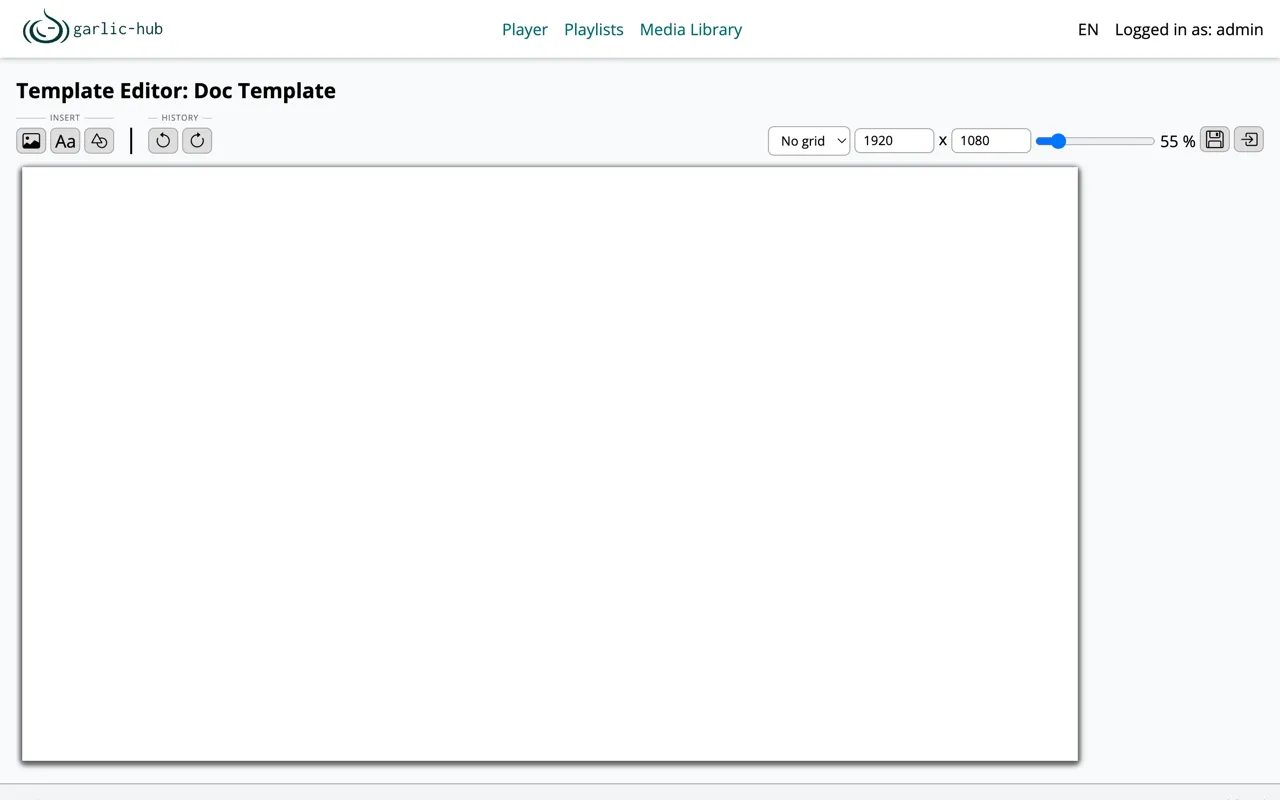
The composer appears in two places. In the admin area it is used to create the templates listed in the template overview. The same composer opens in the playlist area when a user edits a template that was dropped into a playlist, with a few additional functions described below.
A typical workflow: set the canvas size, insert elements, style and arrange them, then save.
You reach the composer from the template overview by clicking a template name or by choosing Template Editor in the context menu.
The Composer in the Playlist Area
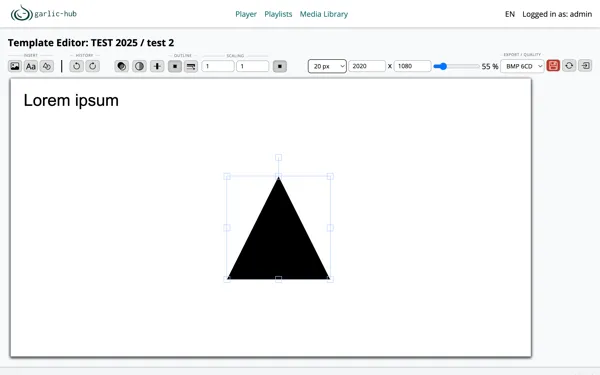
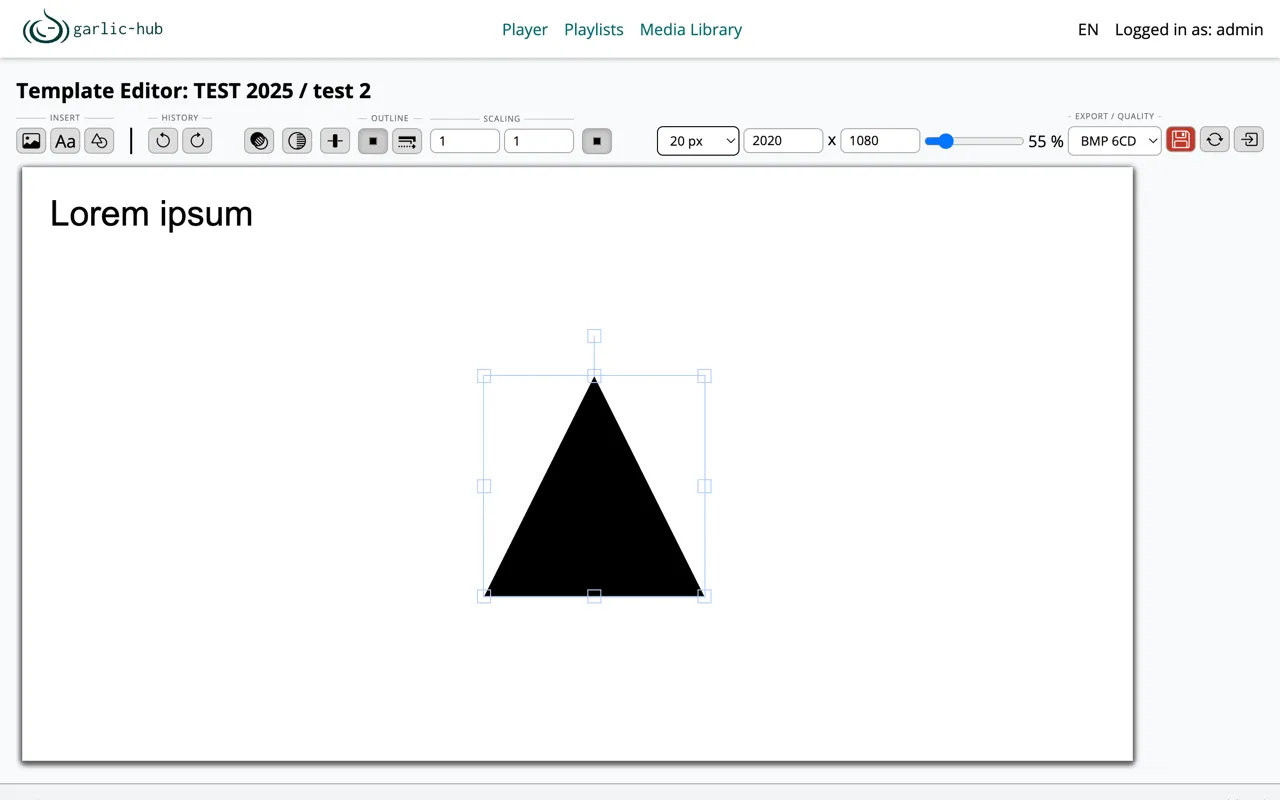
When a template is used in a playlist, each playlist gets its own editable copy. Opening it there shows the same composer with two additions:
- A reset function (refresh icon) that discards all changes in the playlist copy and restores the template as it currently exists in the template settings, including any changes made to the original in the meantime.
- An Export / Quality section to choose the output format and a compression factor in percent. The compression factor applies to all formats except BMP. Supported formats are JPG, PNG, WebP, and BMP with 6 colors dithered, which is intended for E Ink Spectra displays.
Changes made to the original template have no effect on the playlist copies unless you reset.
Canvas Settings
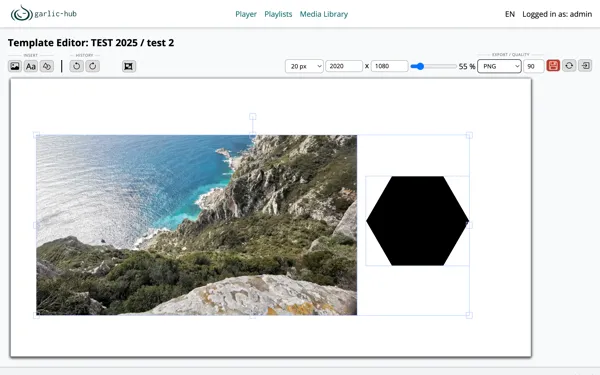
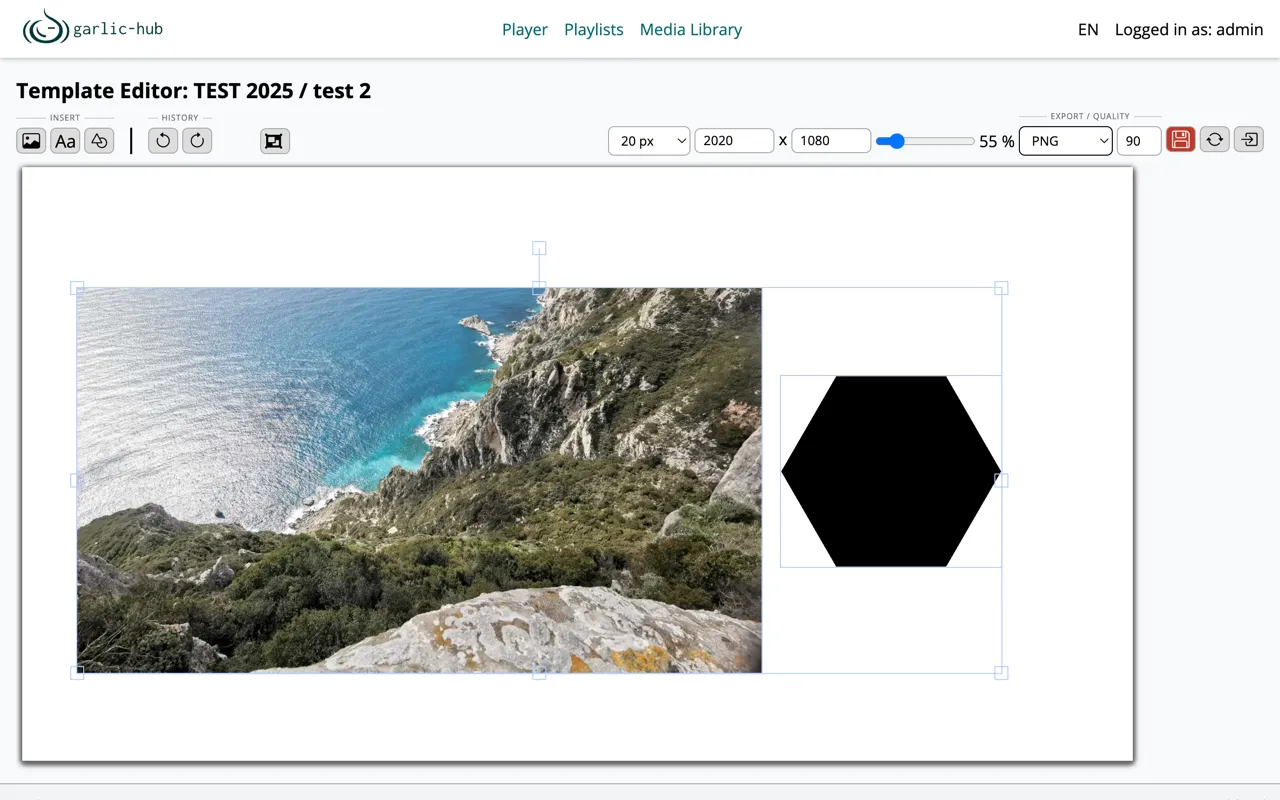
The right side of the toolbar controls the workspace:
- The two number fields set the canvas size in pixels, width by height.
- The slider zooms the view. The current zoom level is shown in percent. Zooming only affects the view, not the template. As long as no zoom value is saved, the zoom is set automatically so the canvas fits the browser window. Once a value is saved, that zoom is used instead.
- The grid dropdown overlays a grid on the canvas in selectable spacing, for example, 20 px. Choose No grid to turn it off. Objects snap to the grid, which helps with placing them precisely. The grid setting is not saved with the template.
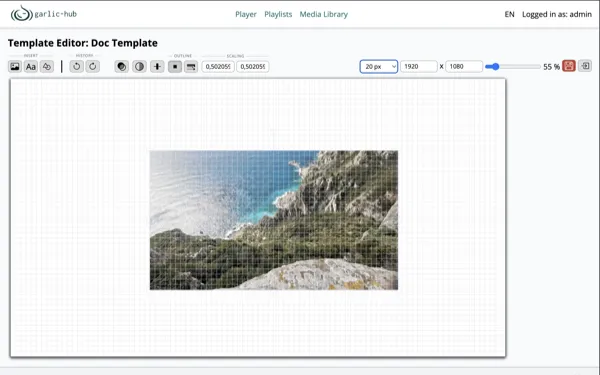
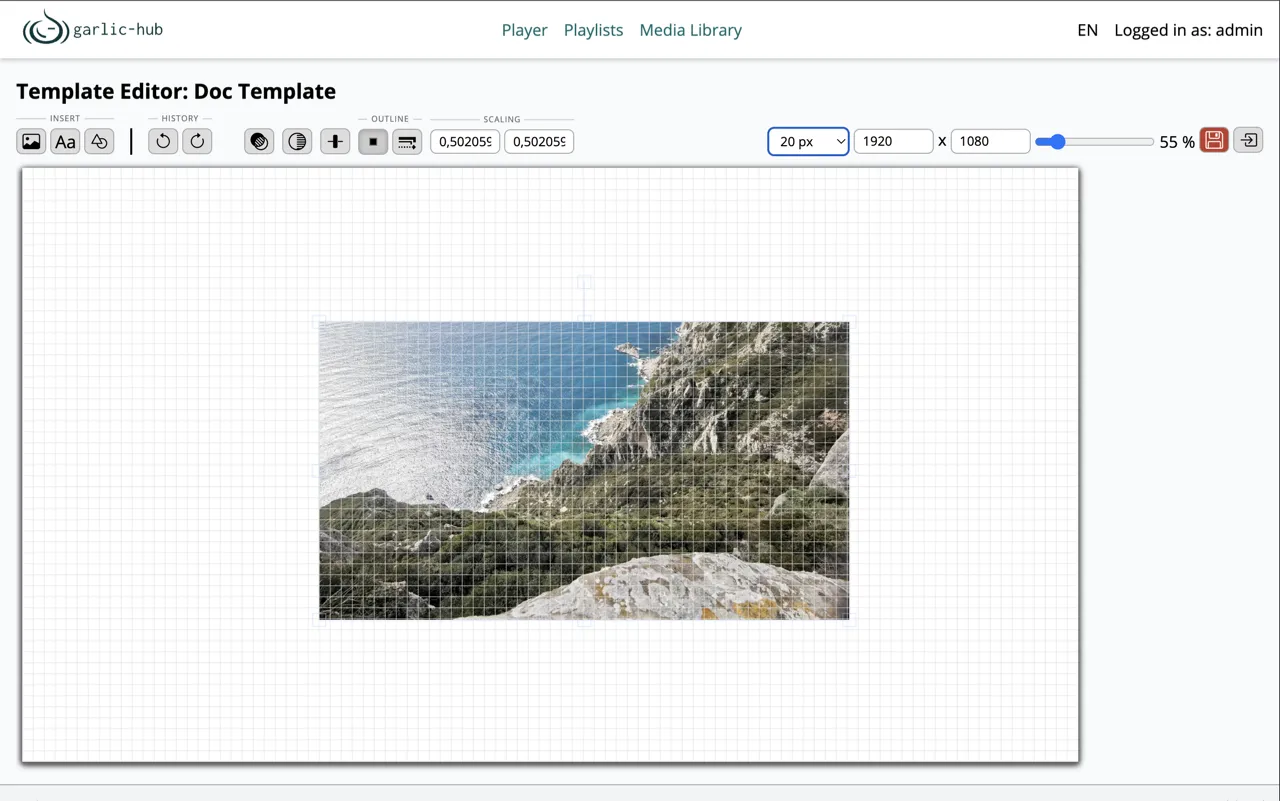
The disk icon saves the template. It turns red when there are unsaved changes. The icon next to it leaves the composer: in the template editor it returns to the template overview, in the playlist area it returns to the playlist composer. If you leave with unsaved changes, a warning appears.
Adding Elements
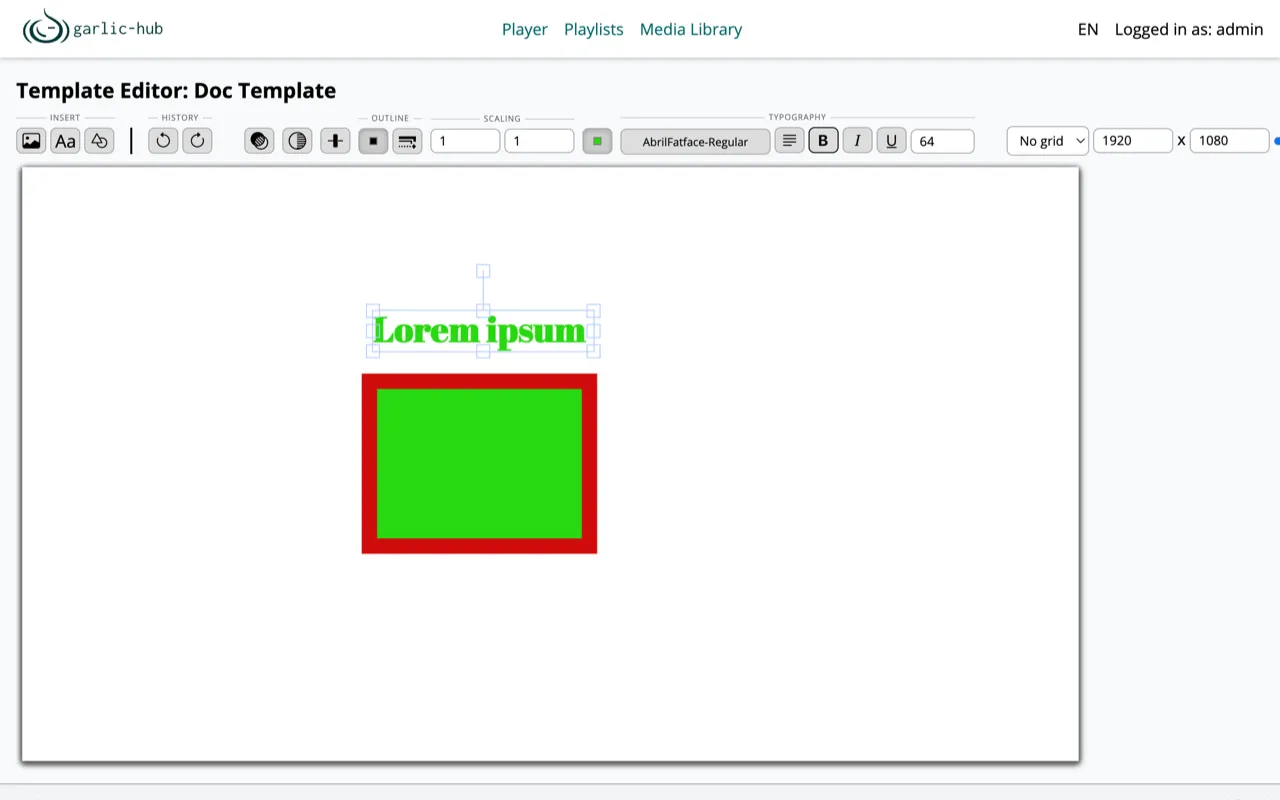
The Insert section on the left of the toolbar adds new elements. New elements are always placed at the top left of the canvas, from where you drag them into position.
Text
The Aa button inserts a text element with a Lorem ipsum placeholder. Double-click it to change the text. You can also select part of the text and change the font only for the selected range. Formatting is described under Typography.
Geometric Shapes
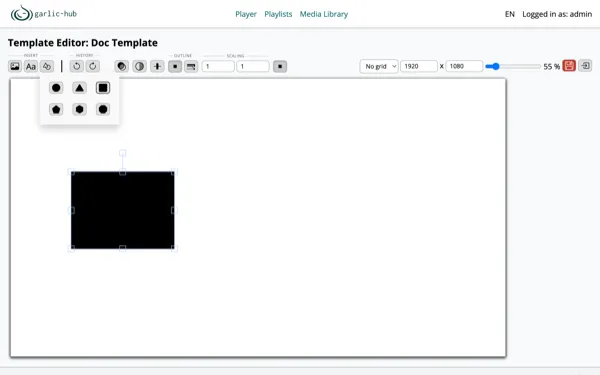
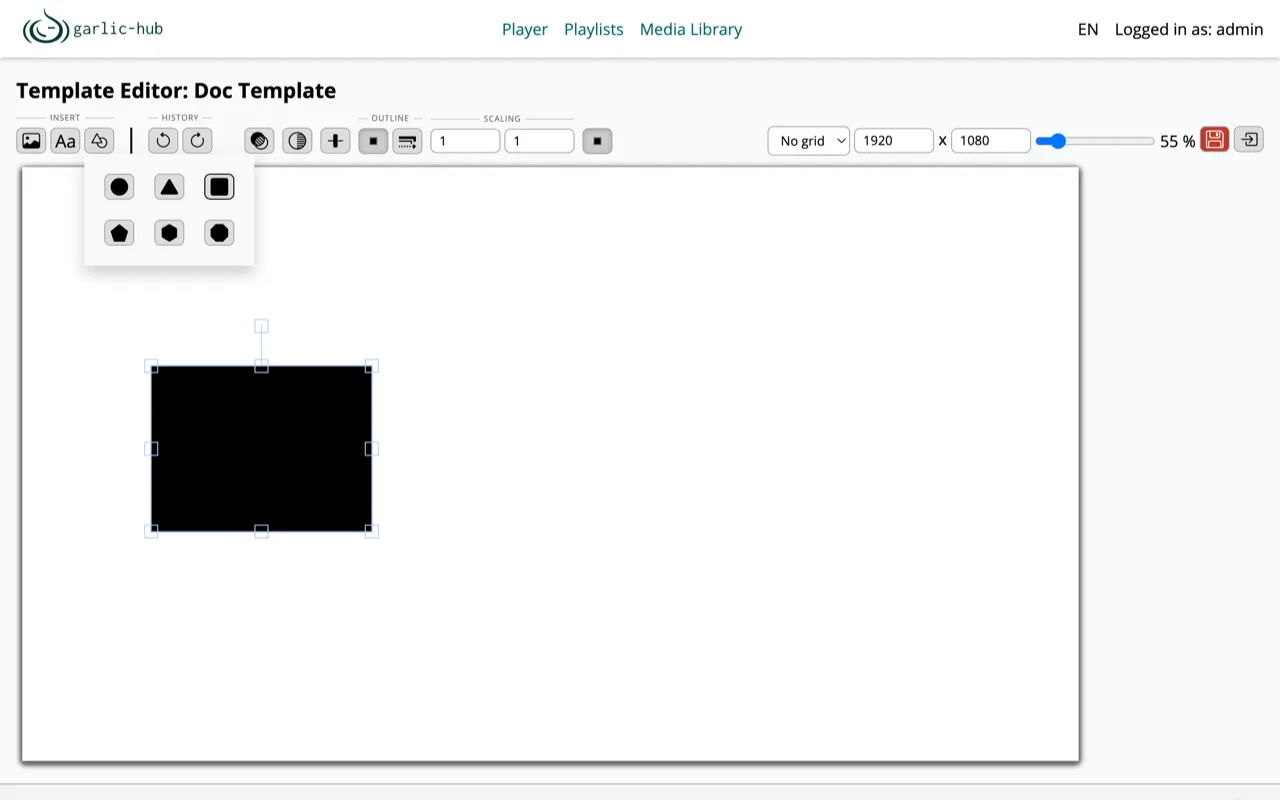
The shape button opens a picker with geometric forms such as circles, triangles, rectangles, and polygons with different numbers of sides.
Images
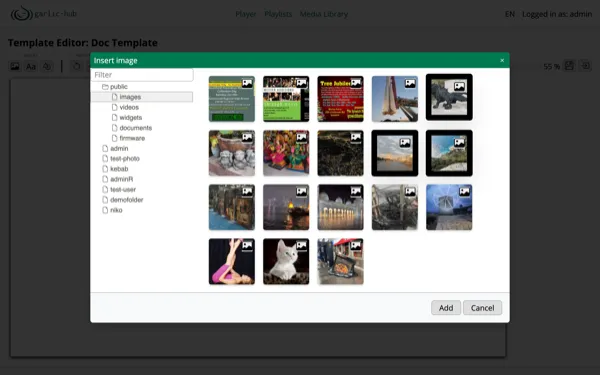
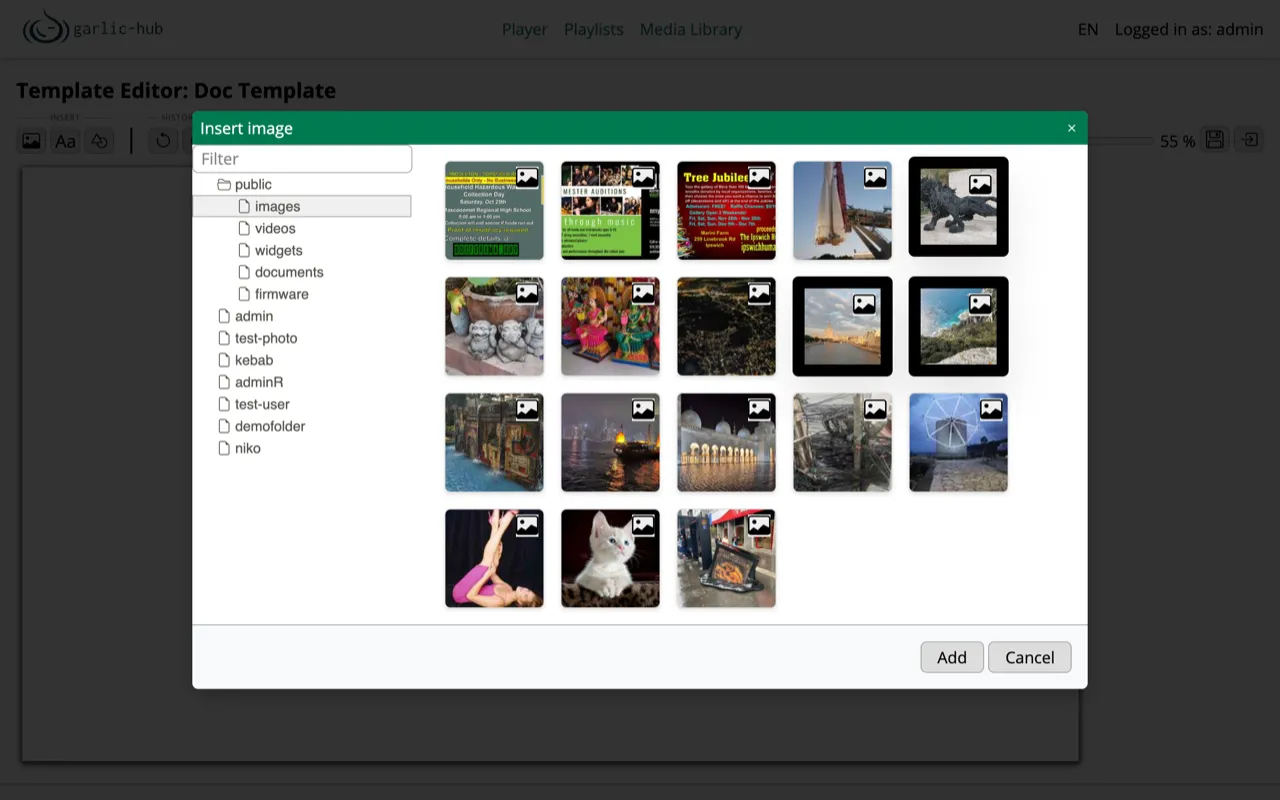
The image button opens a selector for the media pool. It shows all directories you have access to, but lists only images, so you cannot insert a video or other media type by accident. Pick an image and click Add.
Undo and Redo
The History section undoes and redoes up to 20 steps. The keyboard shortcuts Ctrl+Z (undo) and Ctrl+Y (redo) work as well.
Selecting and Scaling Objects
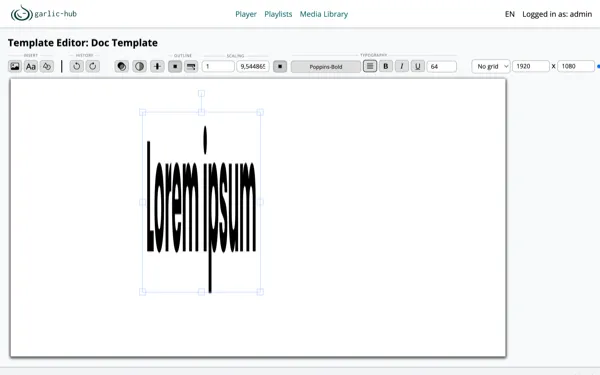
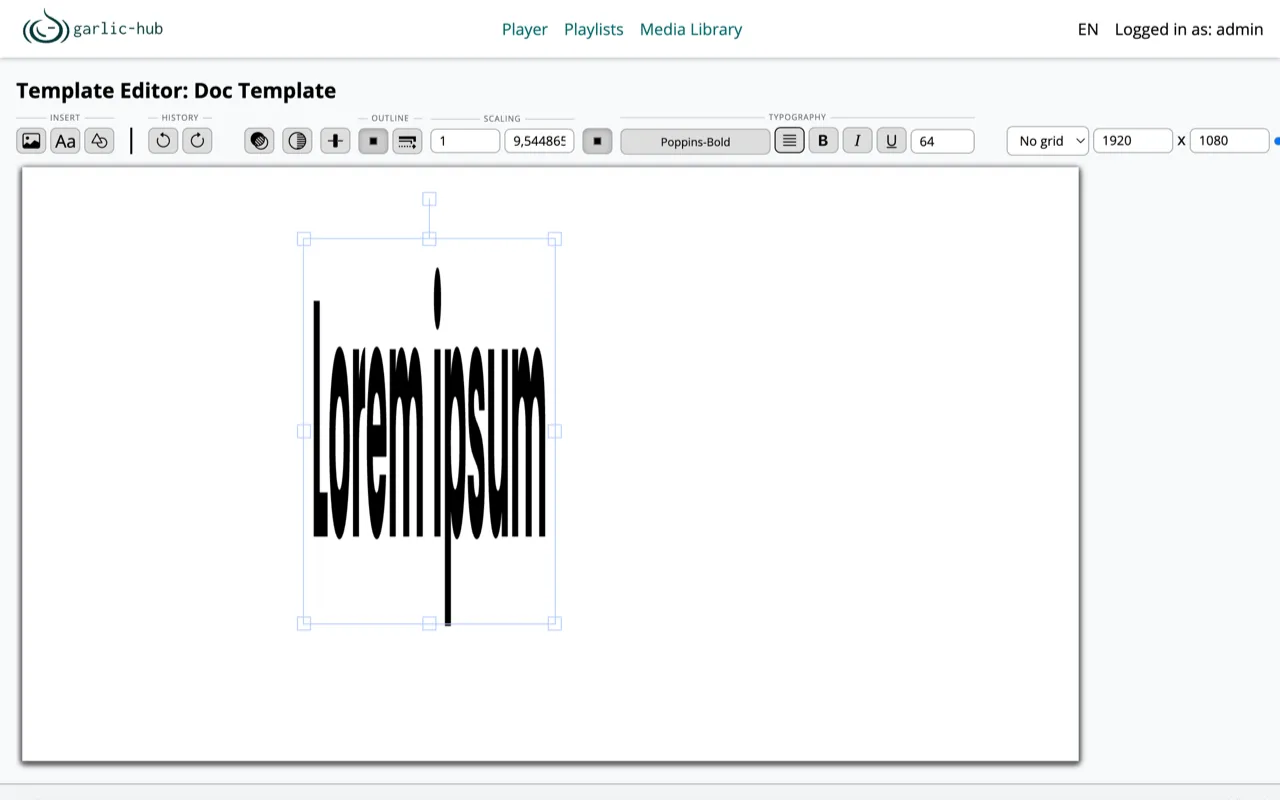
Click an object to select it. Drag it to move it, or use the arrow keys to move it by one pixel, with Shift held by 50 pixels. Dragging the handles scales it: the corner handles scale proportionally, the side handles stretch the object and distort it.
For exact values, the Scaling section in the toolbar holds two scaling factors, one per axis, that you can set by hand.
Styling Objects
These functions in the toolbar apply to the selected object:
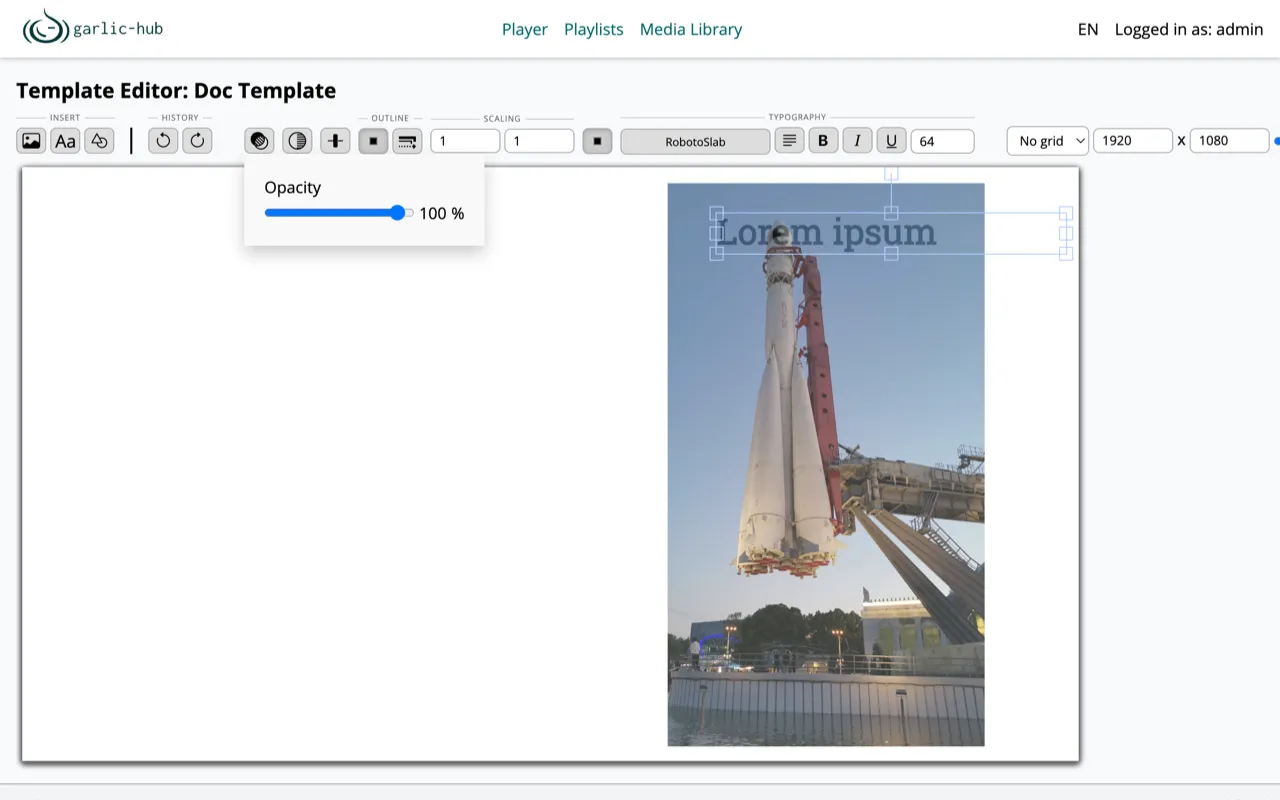
- Opacity sets the transparency with a slider from 0 to 100 percent.
- Fill color sets the color of shapes and text. Images have no full color.
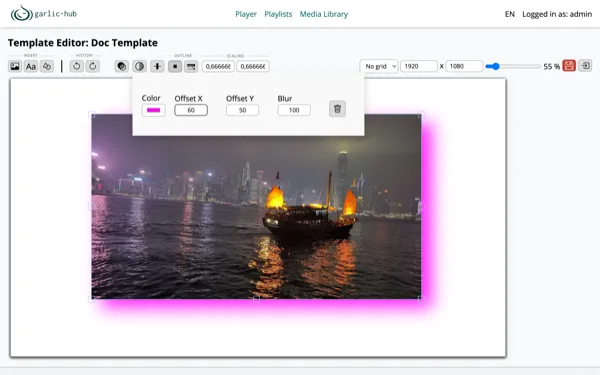
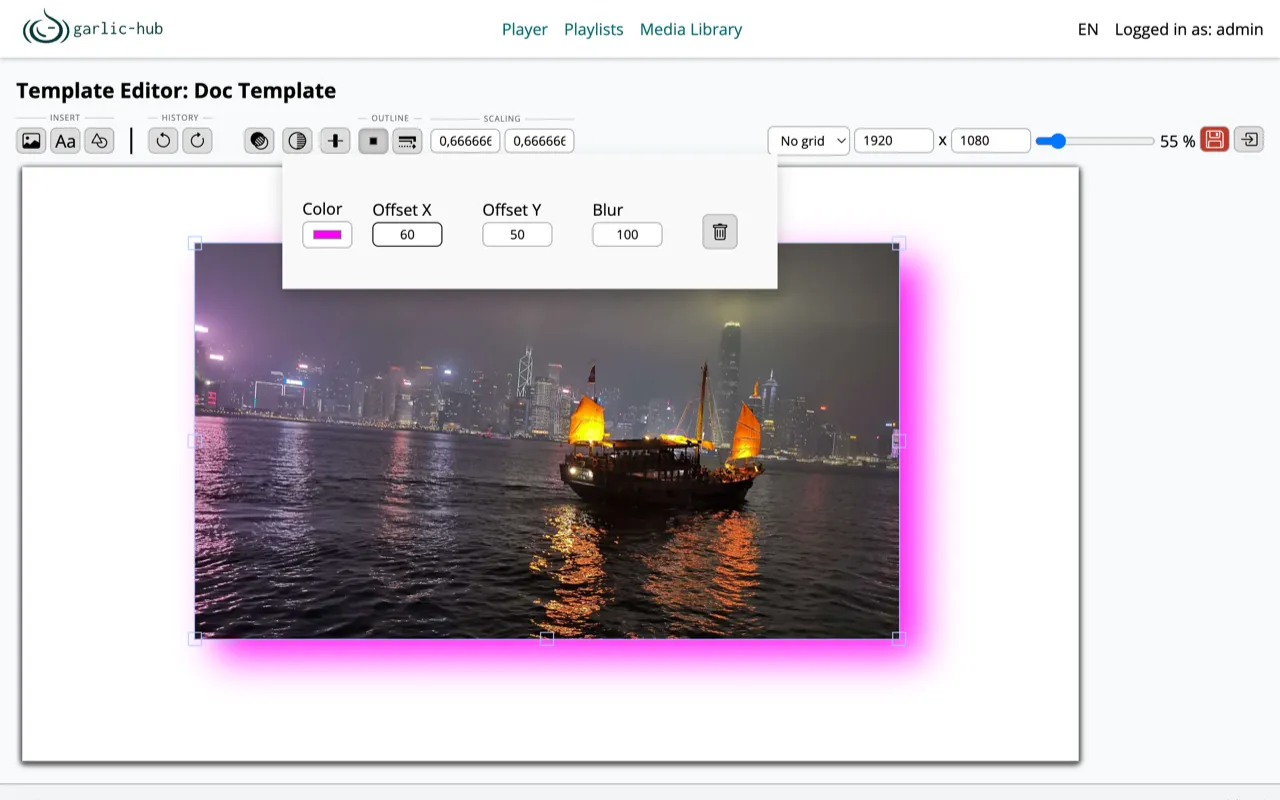
- Shadow adds a drop shadow with color, X and Y offset, and blur. The trash icon in the shadow popup removes the shadow again.
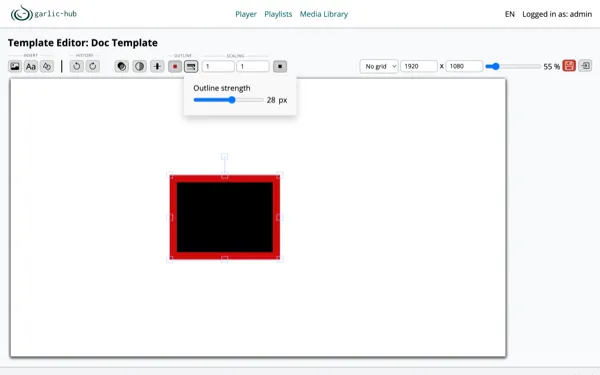
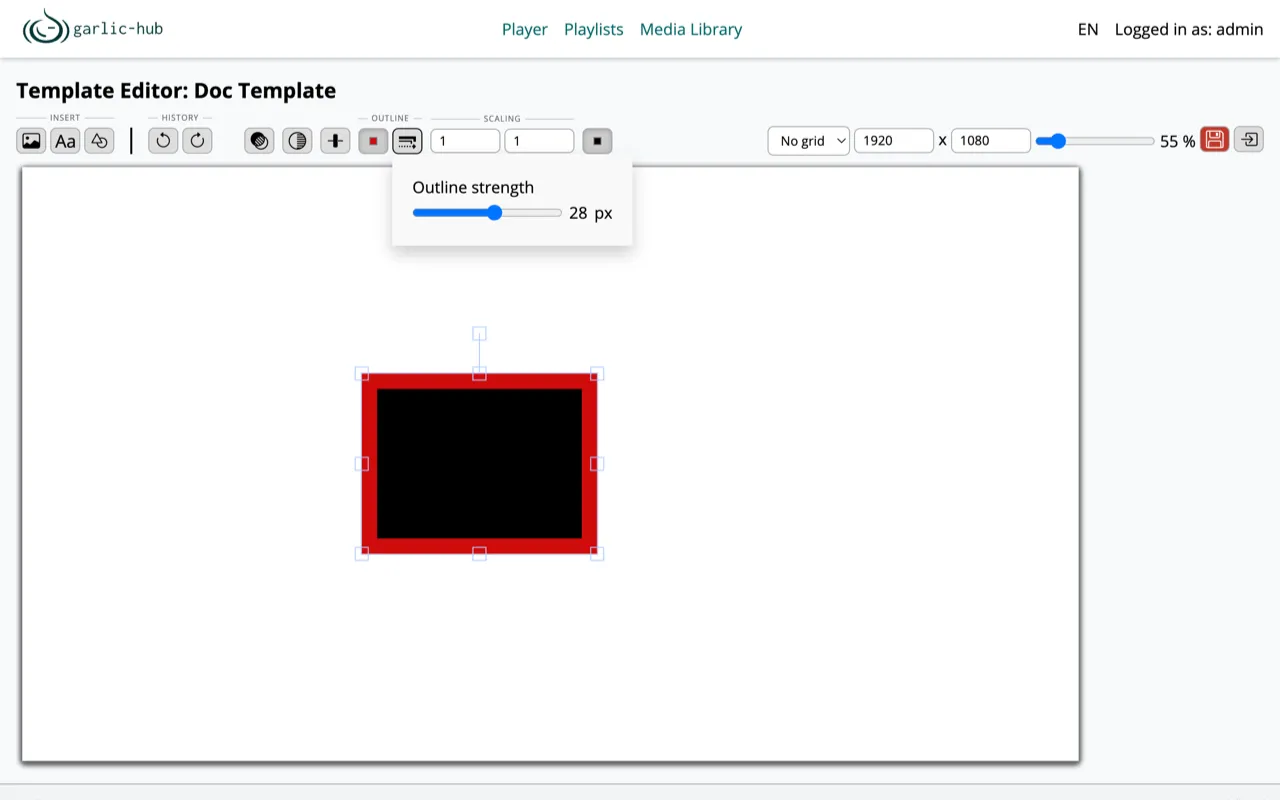
- Outline draws a border around the object. You can set the outline color and the outline strength in pixels.
Aligning Objects
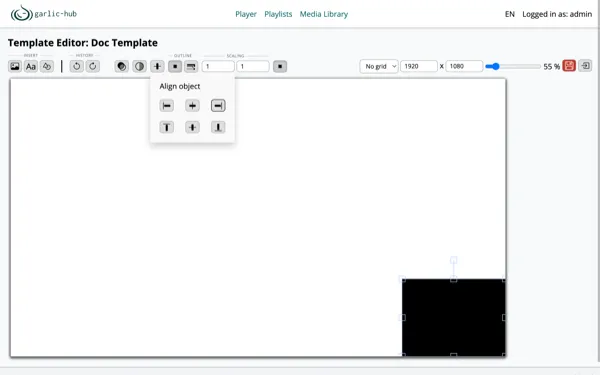
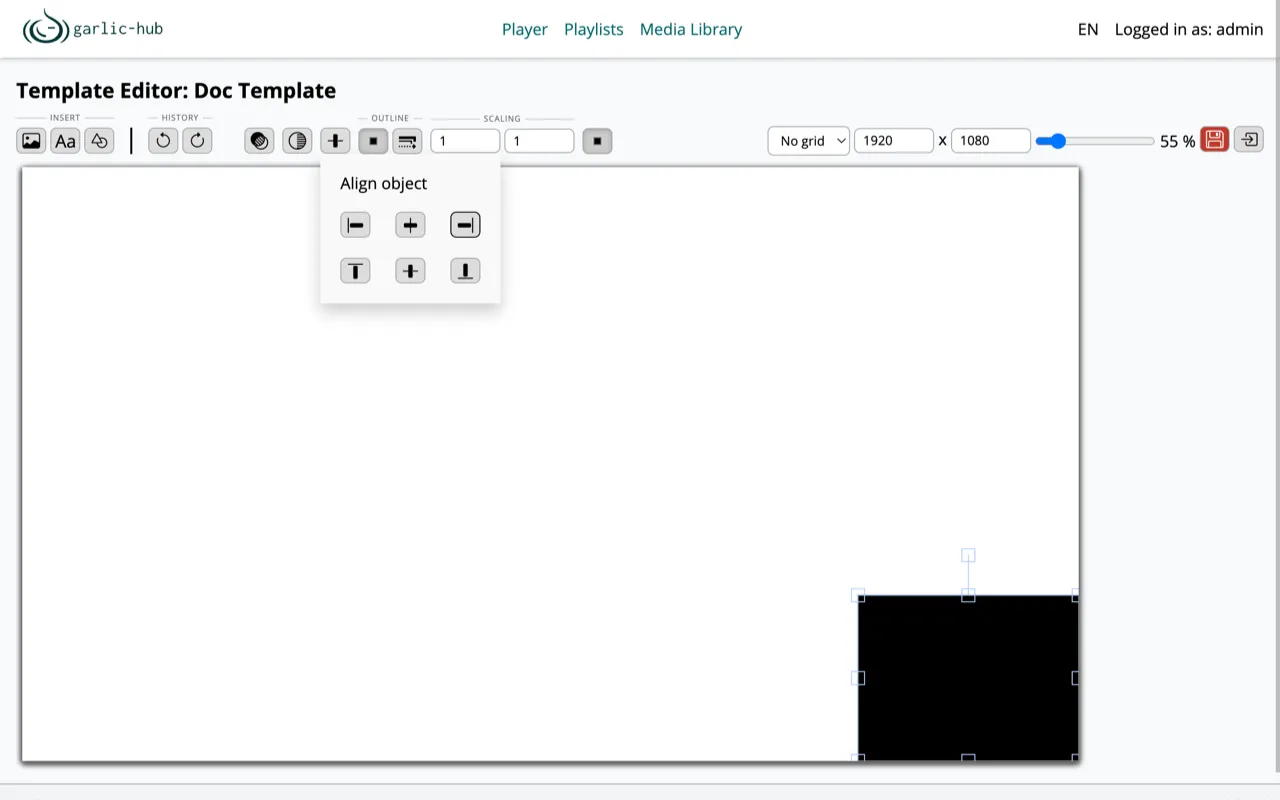
The Align button opens the Align object popup. It aligns the selected object relative to the canvas: left, horizontally centered, or right, and top, vertically centered, or bottom.
Typography
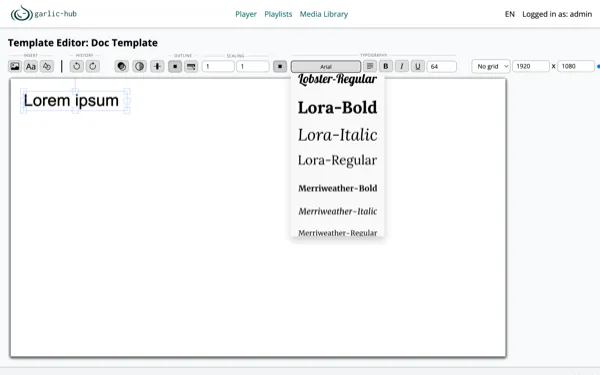
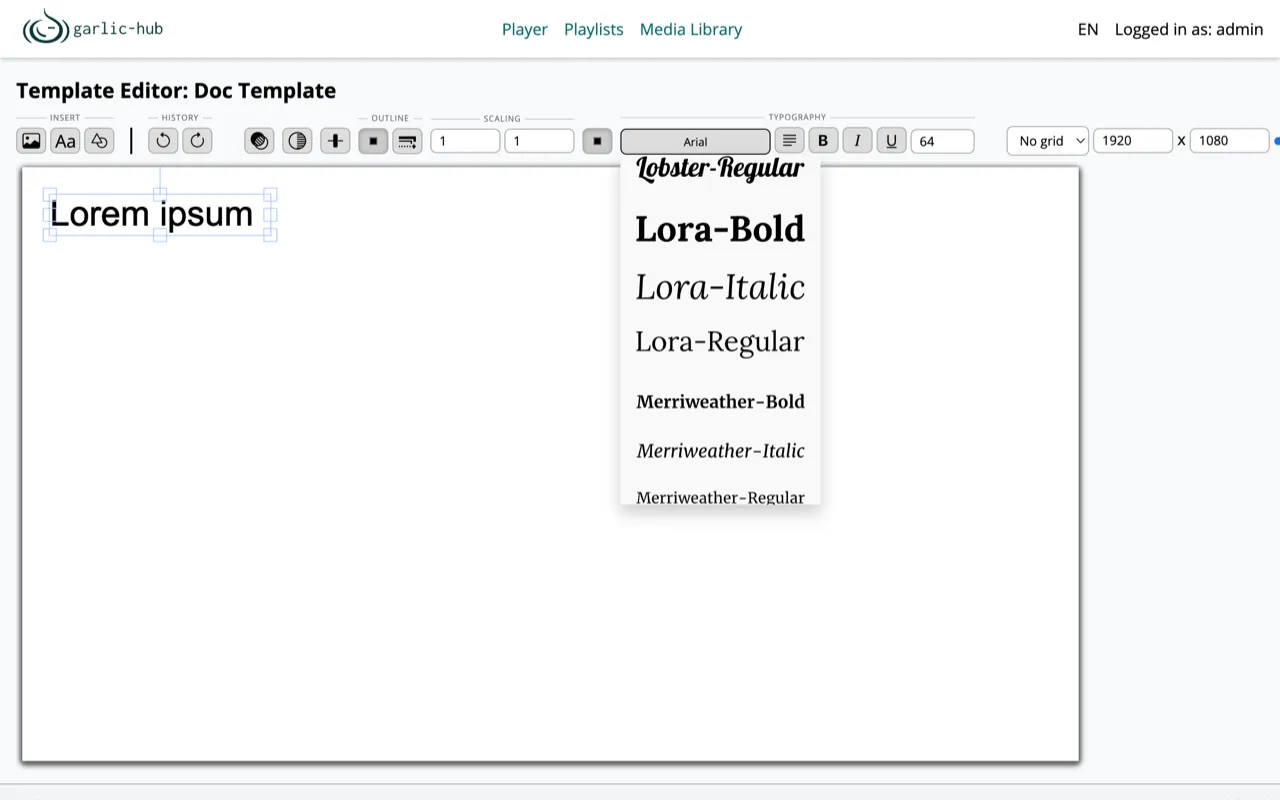
Selecting a text element shows the Typography section in the toolbar:
- A font dropdown with the available fonts. Uploading your own fonts is currently not supported.
- Text alignment: left, centered, or right.
- The attributes are bold, italic, and underline.
- A field for the font size.
Scaling text with the mouse distorts the letters. To make text larger or smaller, change the font size instead.
Grouping
Hold Shift while selecting to select several objects. A group icon then appears in the toolbar to combine them into a group, for example, to move or scale several objects at once. Groups are permanent. Clicking a group shows an ungrouped icon to dissolve it.
The canvas background is always white and cannot be changed. White areas are rendered as transparent in the exported image. JPG and BMP do not support transparency, there the white areas stay white.
Object Context Menu
A right-click on an object opens its context menu.
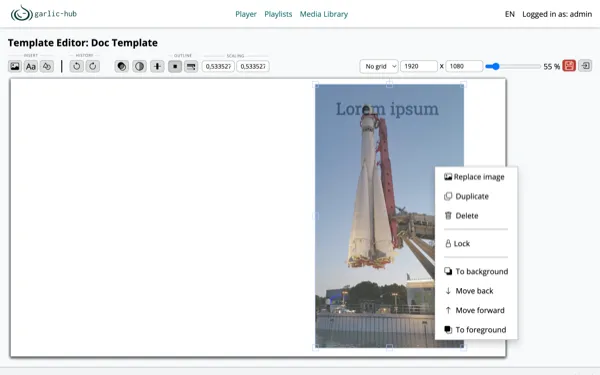
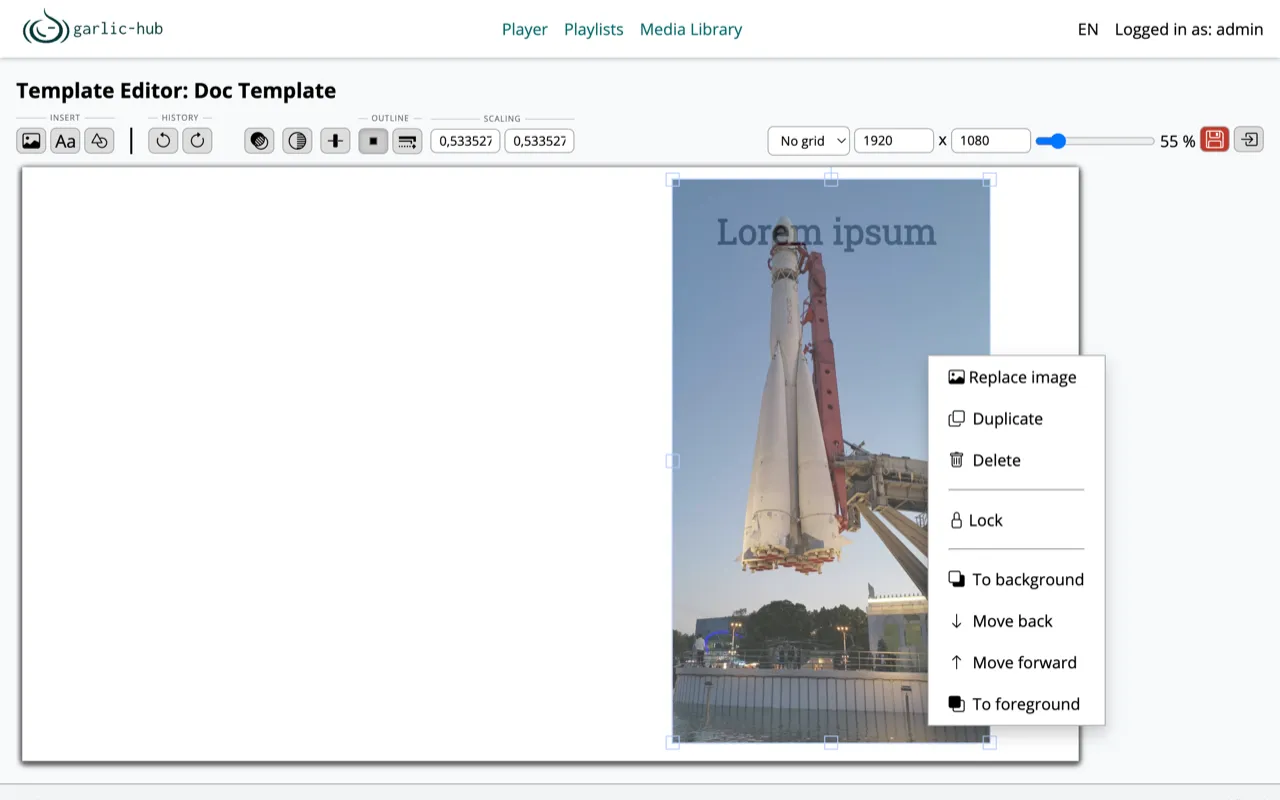
The entries are:
- Replace image swaps the image for another one from the media pool. This entry only appears on image objects. It keeps position and styling, so you do not have to rebuild the layout to change a picture.
- Duplicate copies the object. Keyboard: Ctrl+D.
- Delete removes the object. Keyboard: Del.
- Lock protects the object against moving and changing. On a locked object the entry changes to Unlock.
- To background, Move back, Move forward, and To foreground change the layer order when objects overlap.
Keyboard Shortcuts
| Shortcut | Action |
|---|---|
| Ctrl+Z | Undo |
| Ctrl+Y | Redo |
| Ctrl+D | Duplicate object |
| Del | Delete object |
| Arrow keys | Move object by 1 px |
| Shift+Arrow keys | Move object by 50 px |
| Shift+Click | Select several objects |