The Media Library
The Media Library is the central place where all content lives before it goes into a playlist or template. You upload images, videos, documents, and widgets here. They are organized into folders. This page explains how the Library is structured, how permissions work, the different ways to get media in, and the technical limits you should know.
The typical workflow is: upload your media here, organize it into folders, then add it to a playlist. See Creating a Playlist once your media is ready.
Interface Overview
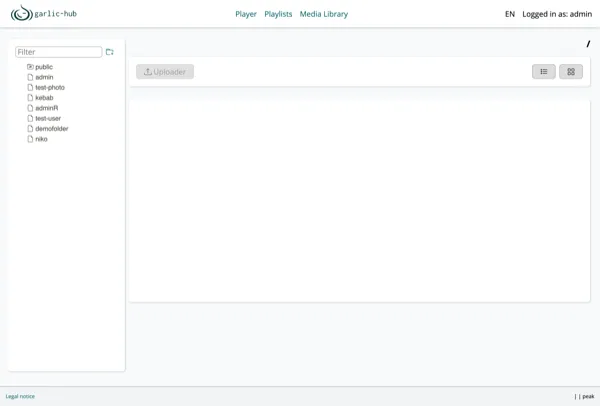
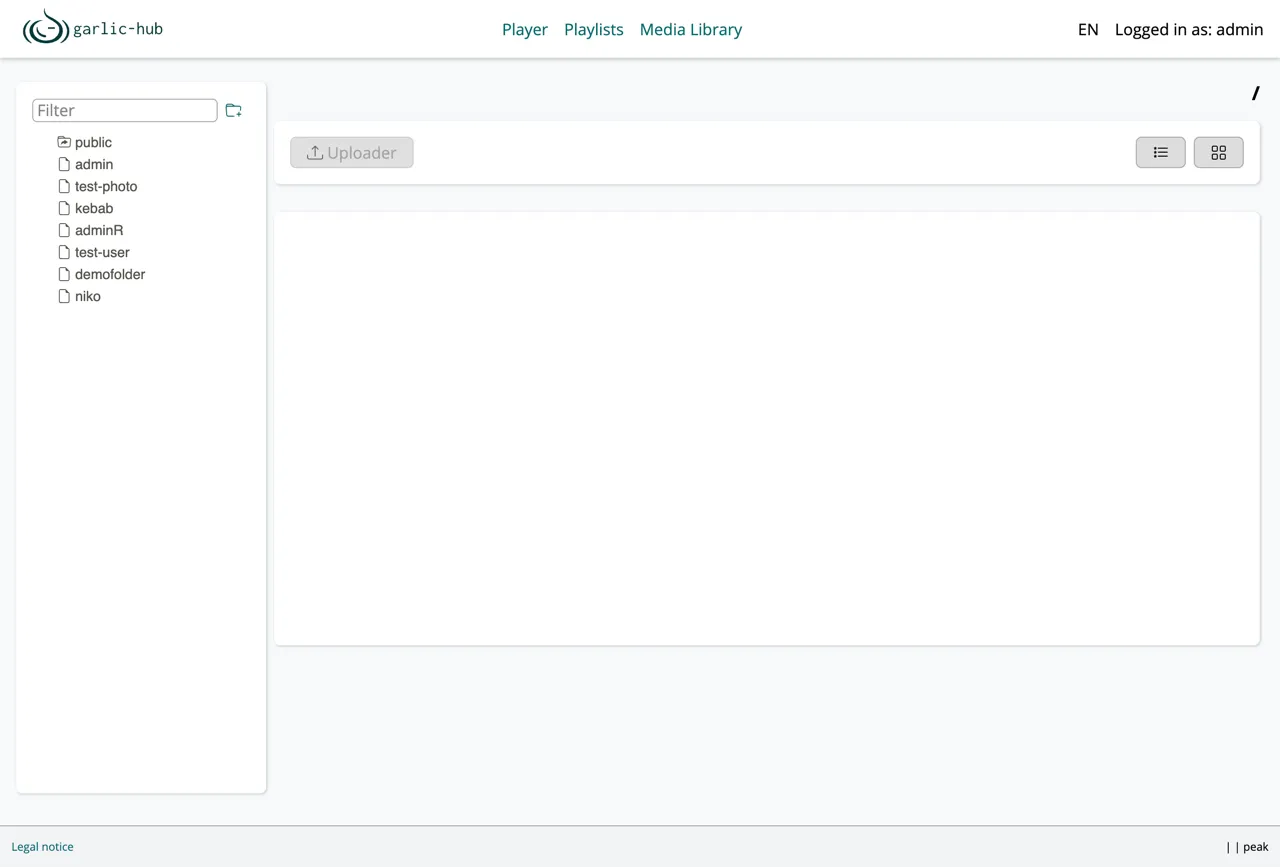
The Media Library is reached through Media Library in the top navigation. It has two areas:
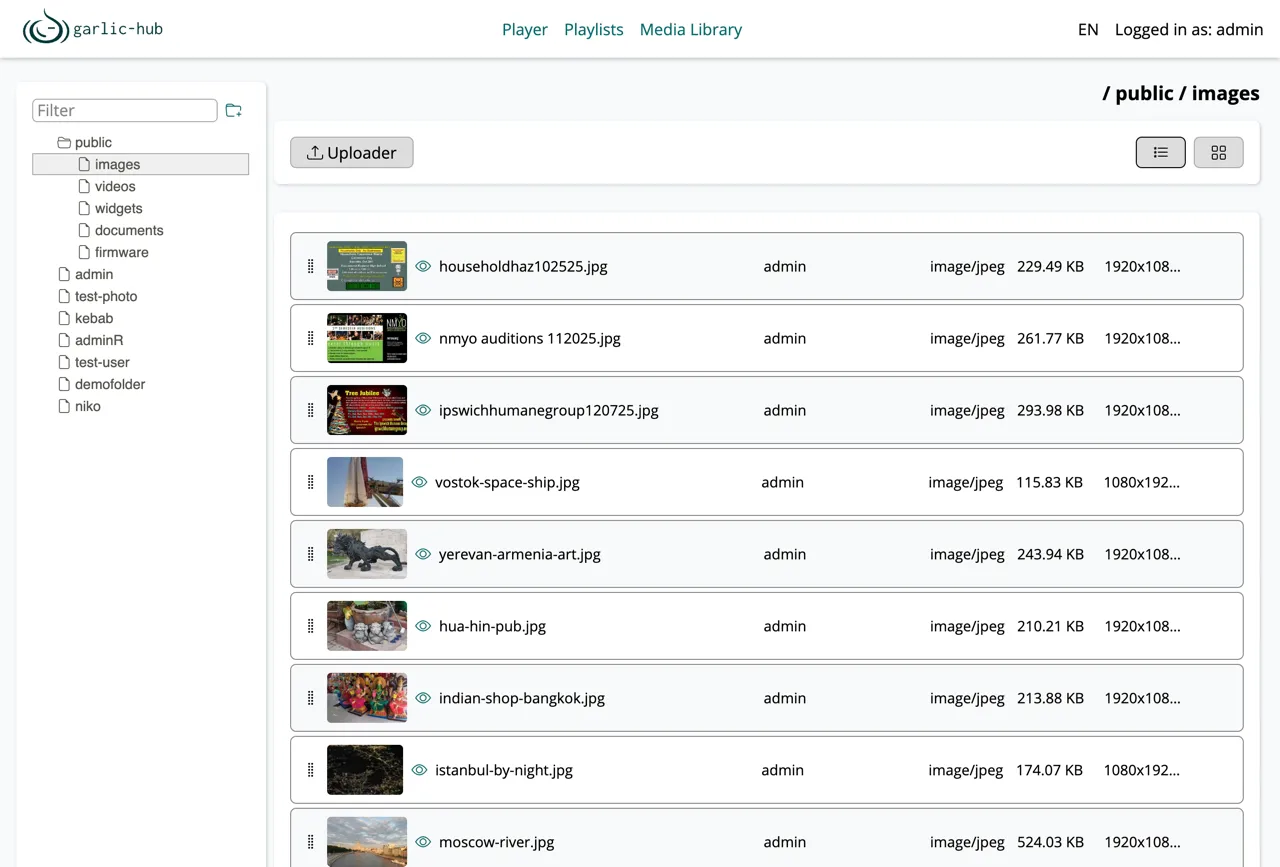
- Folder tree (left): your folder structure with a filter field on top and a button to add a new root folder.
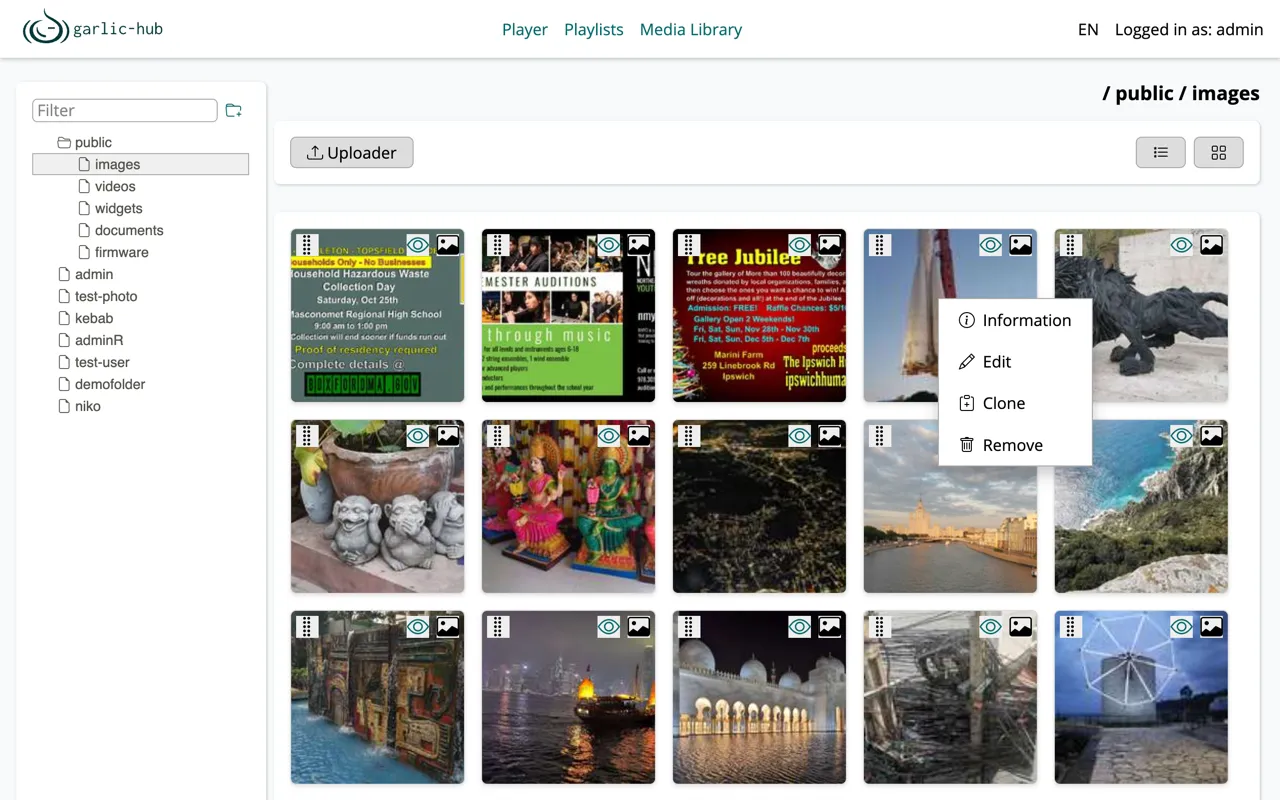
- Content area (right): the media inside the selected folder, an Uploader button, and a toggle between grid and list view. The current path is shown top right as a breadcrumb (for example
/ public / images).
The filter field above the folder tree narrows the tree to folders whose name matches what you type.
Folders and Permissions
Public vs User Folders
The Library separates shared and private content:
publicis visible to everyone, but only an admin can upload into it. Use it for content that every user should be able to reuse.- Every user gets a personal folder named after their username. Users work inside their own folder.
This keeps a shared, curated library (public) separate from each user’s private working space.
Adding a Root Folder
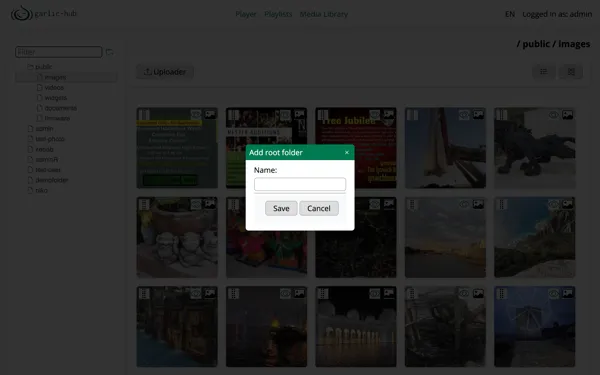
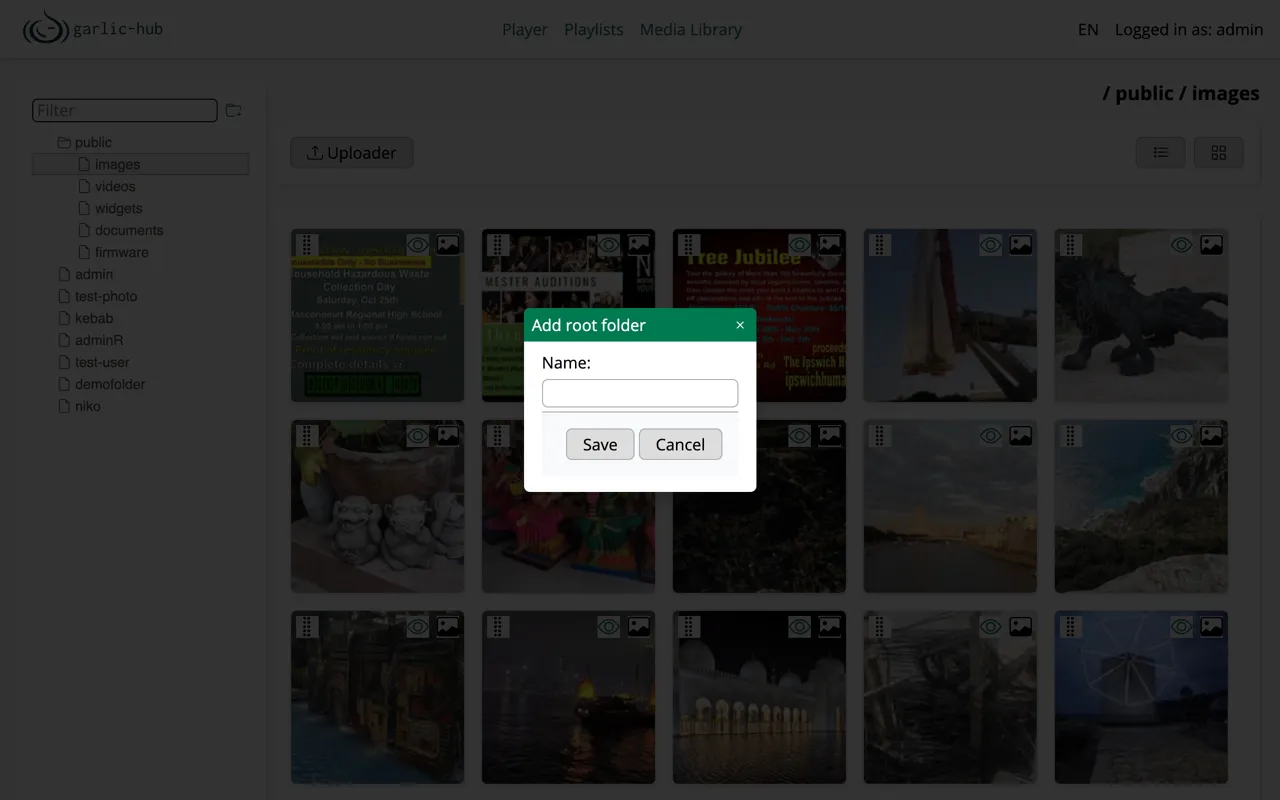
Use the folder button next to the filter field to create a new root folder. Enter a name and confirm.
Folder Context Menu
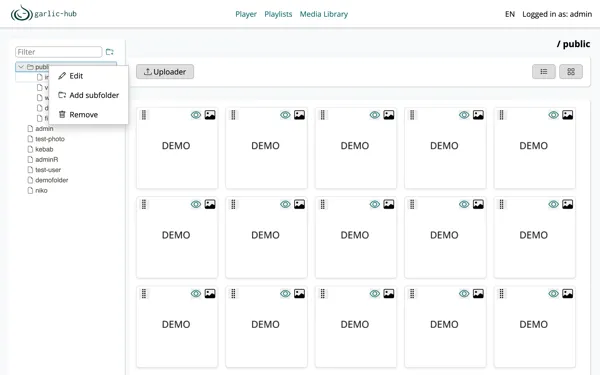
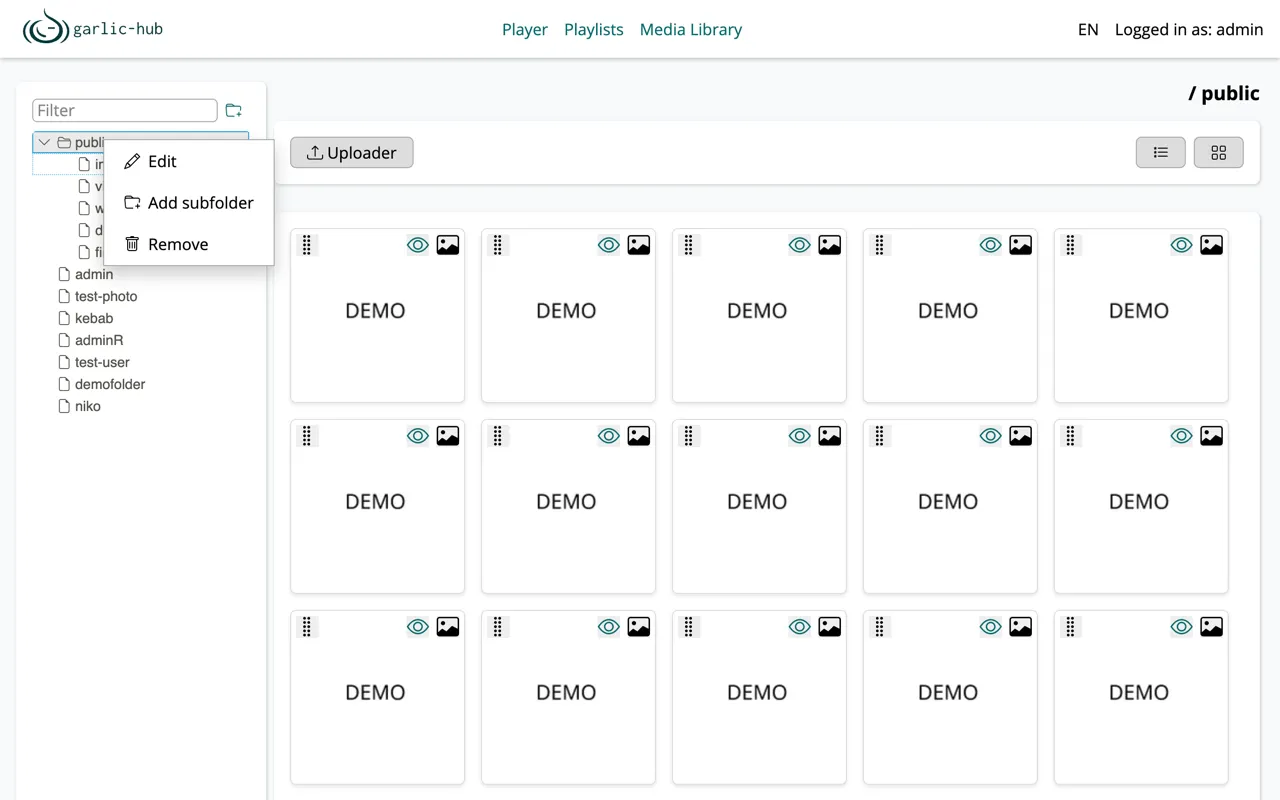
Right-click a folder to open its context menu:
- Edit renames the folder.
- Add subfolder creates a folder one level below.
- Remove deletes the folder, all the subfolders, and the media inside.
Moving Folders
Folders can be moved by drag and drop, as long as you have the required permissions for the target location. Drag a folder onto another folder to nest it there.
Grid and List View
The two buttons top right switch how media is displayed.
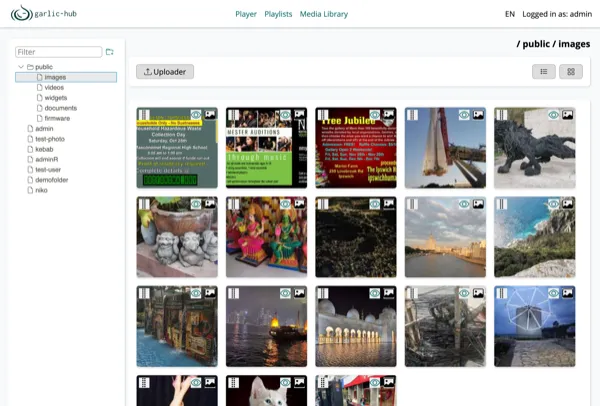
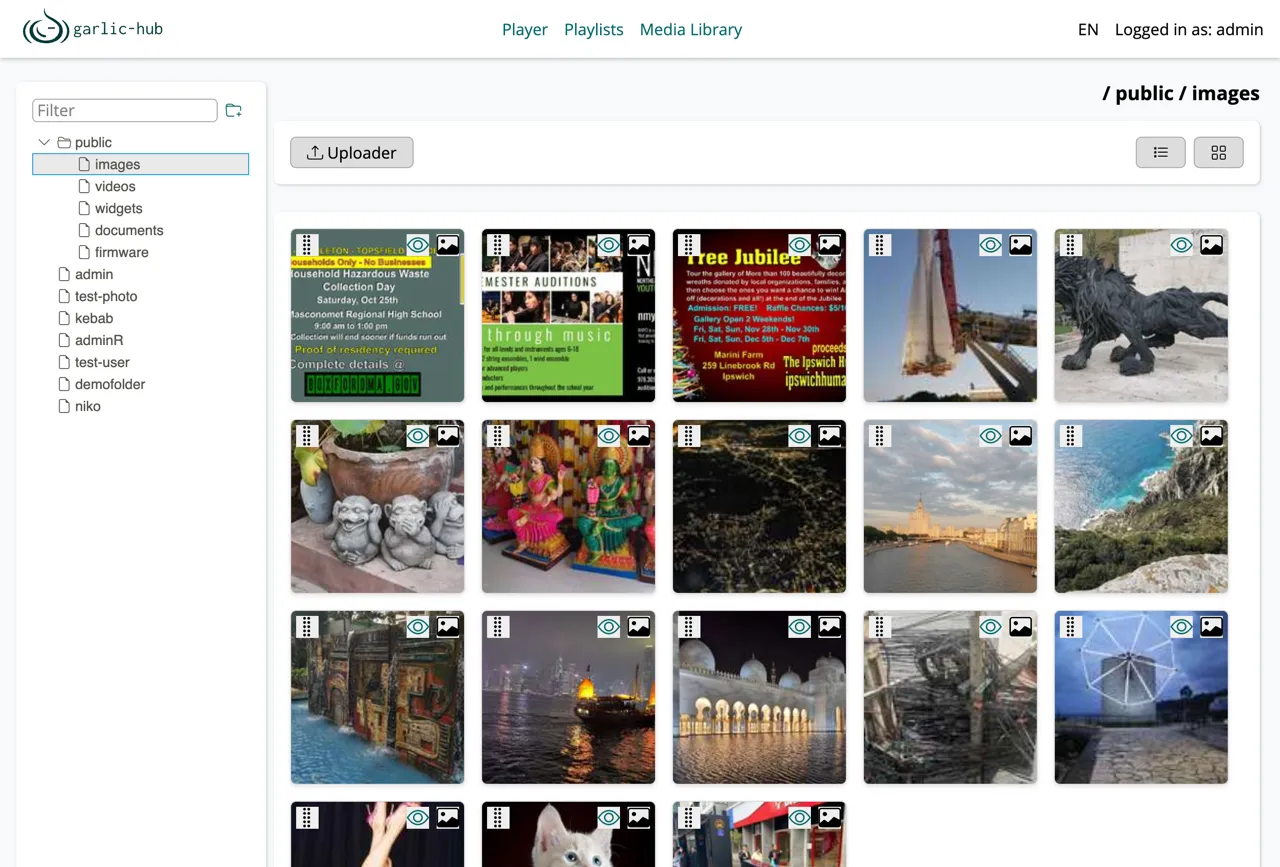
Grid view shows large thumbnails. Good for visual browsing.
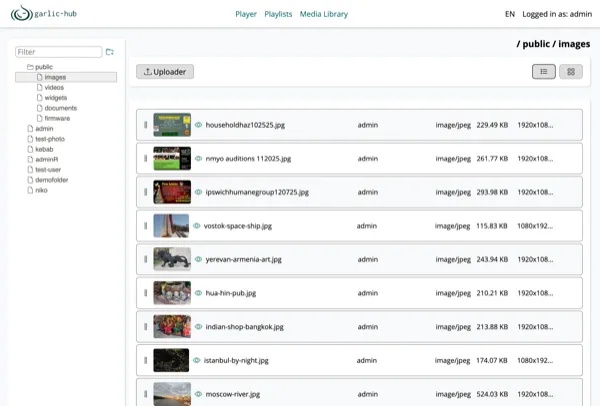
List view shows a row per file with name, owner, MIME type, file size, and resolution. Good for scanning details and finding a specific file.
Working with Media
Detail View
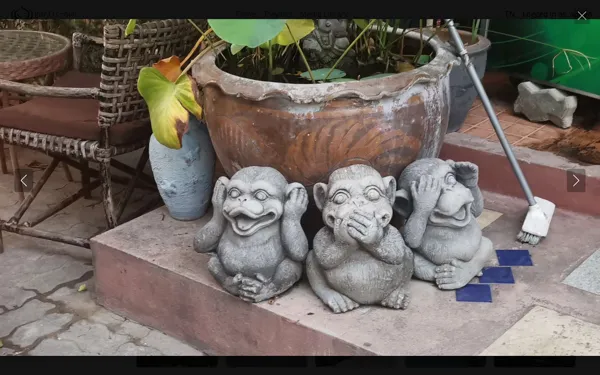
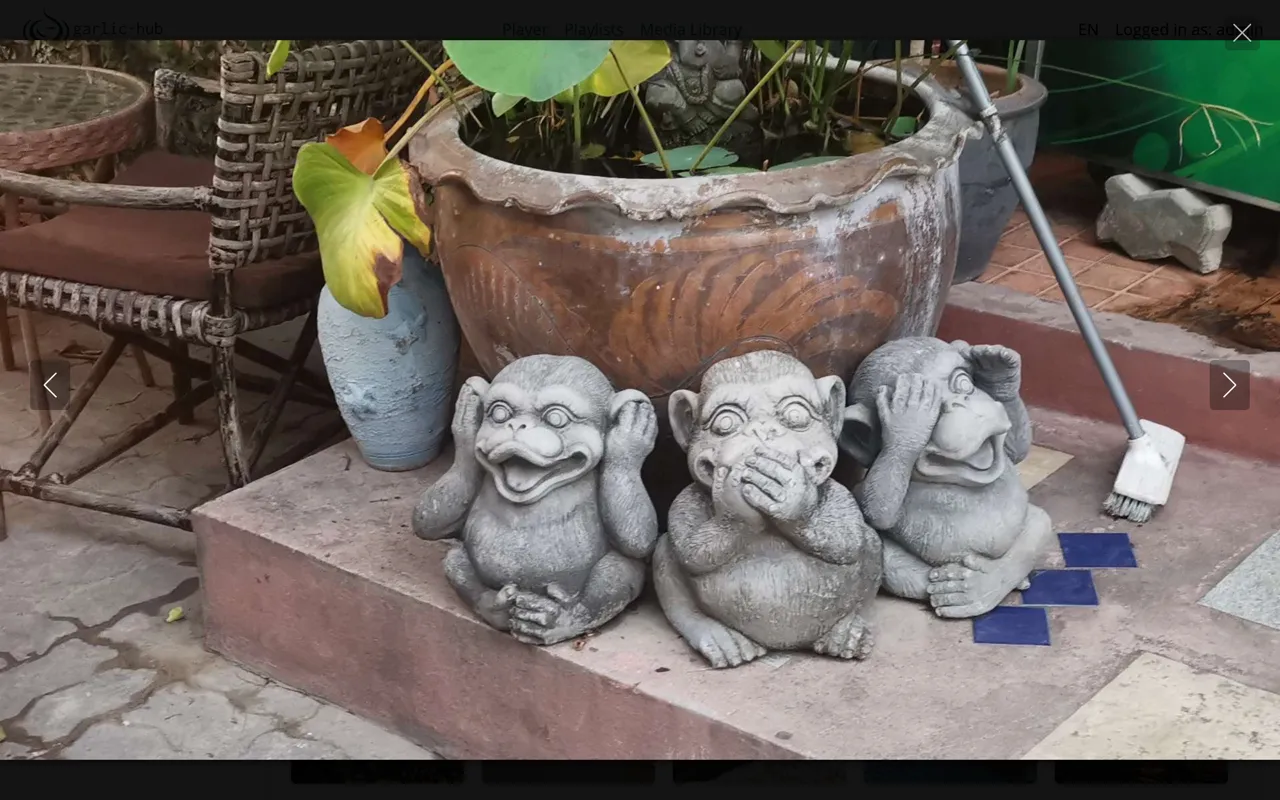
Each media tile has an icon that opens the detail view, a full-size preview of the file with navigation between items.
Media Context Menu
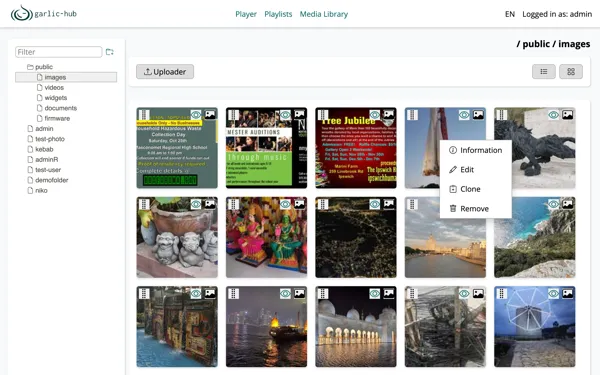
Right-click a media item to open its context menu:
- Information shows the file’s metadata.
- Edit changes the item’s properties such as name and description.
- Clone creates another reference to the same file (see How Storage Works).
- Remove takes the item out of the library (see How Storage Works).
Moving Media
Grab a media item at the handle in its top-left corner and drop it into another folder. As with folders, this requires the right permissions for the target folder.
Uploading Media
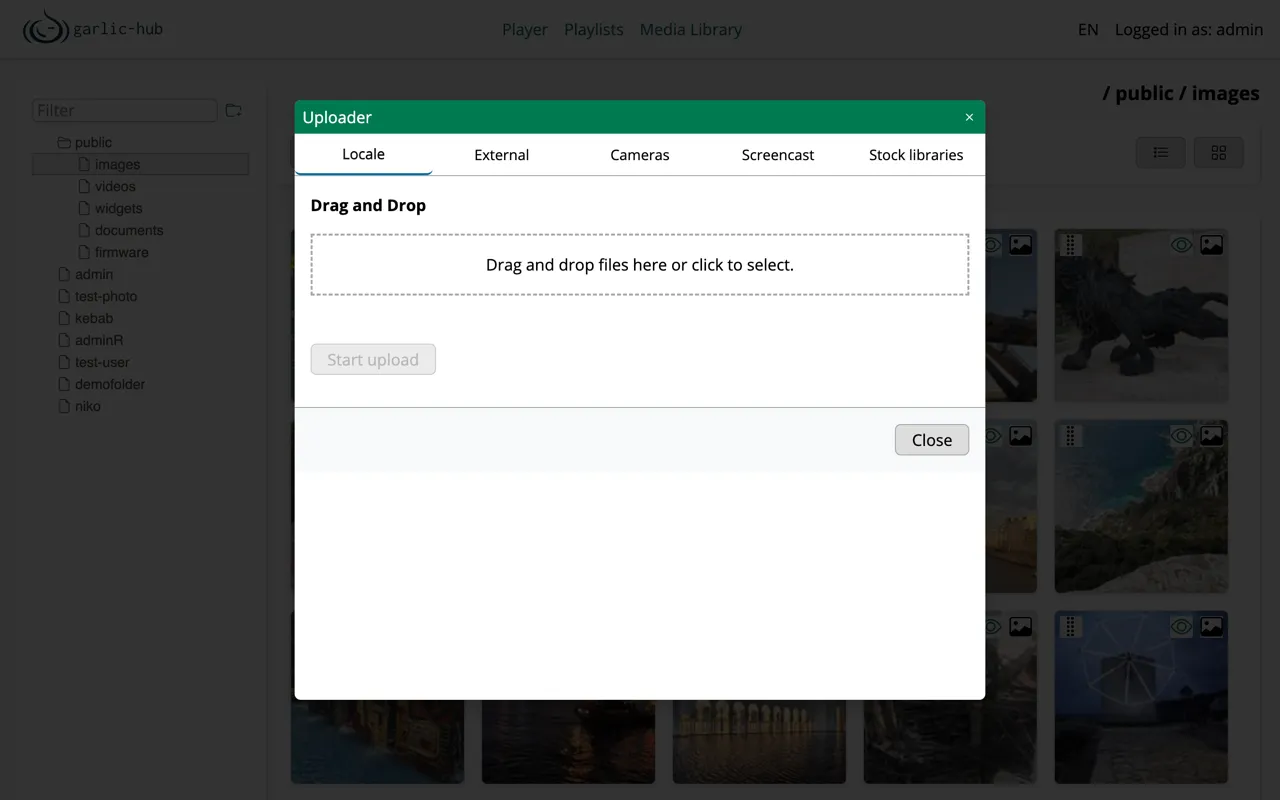
The Uploader button opens a dialog with several tabs, each a different source for getting media into the Library.
Uploaded files land in the folder that is currently selected. Garlic-Hub generates a thumbnail automatically. The new item appears in the content area once the upload finishes.
Locale (Local Files)
Drag and drop files onto the drop zone, or click it to pick files from your computer. Then start the upload.
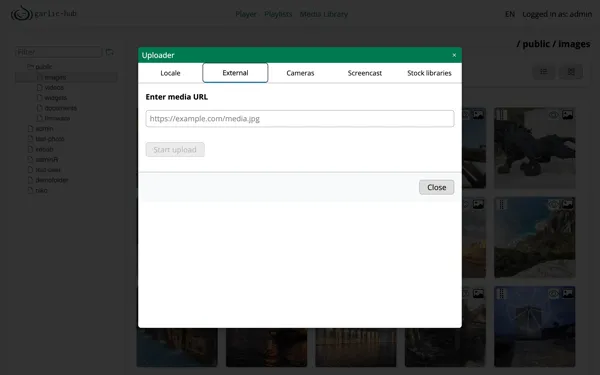
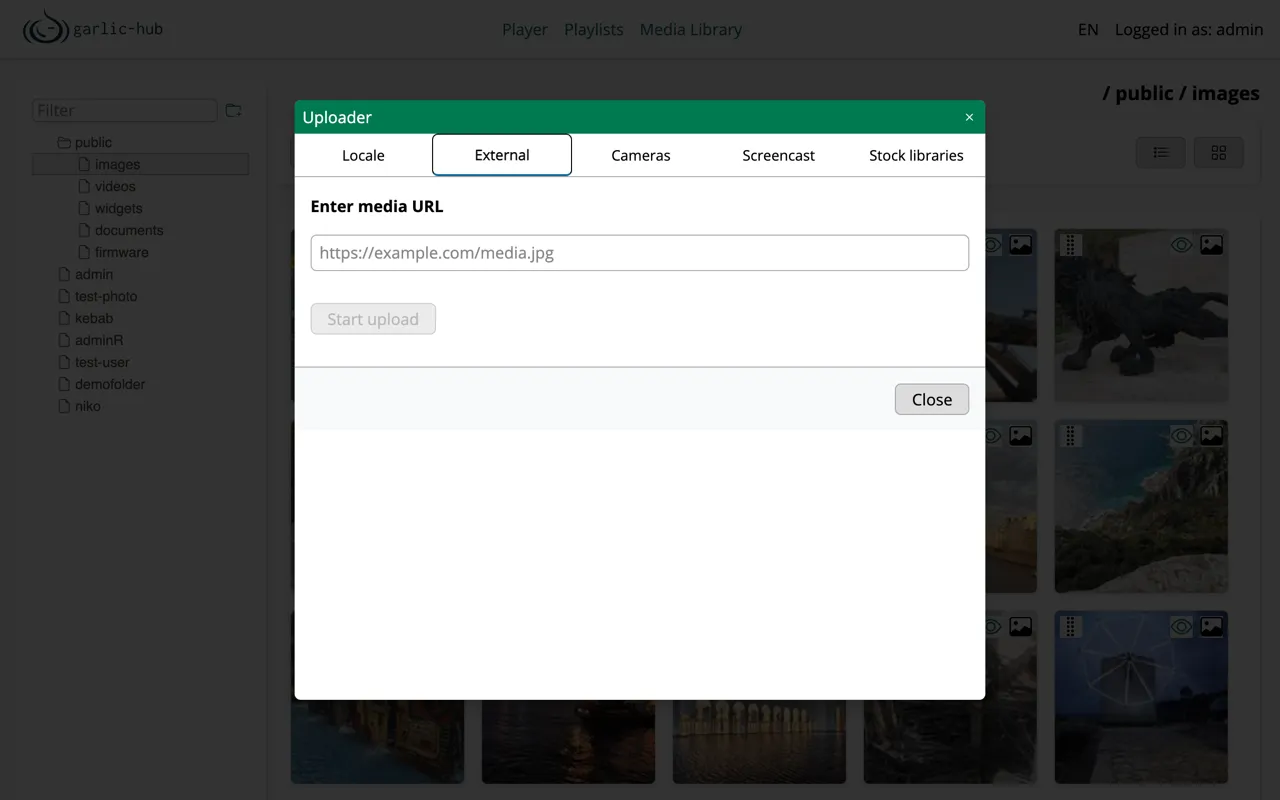
External (URL)
Paste a direct URL to a media file and Garlic-Hub fetches it.
Cameras
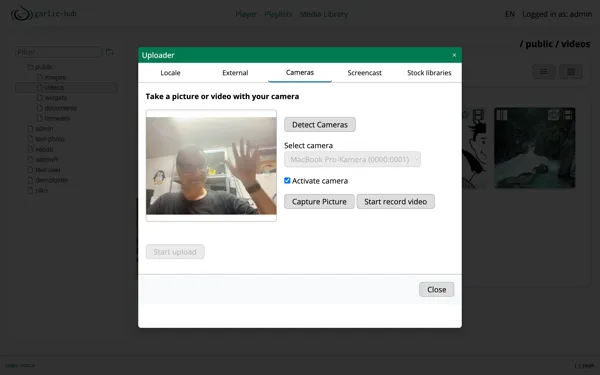
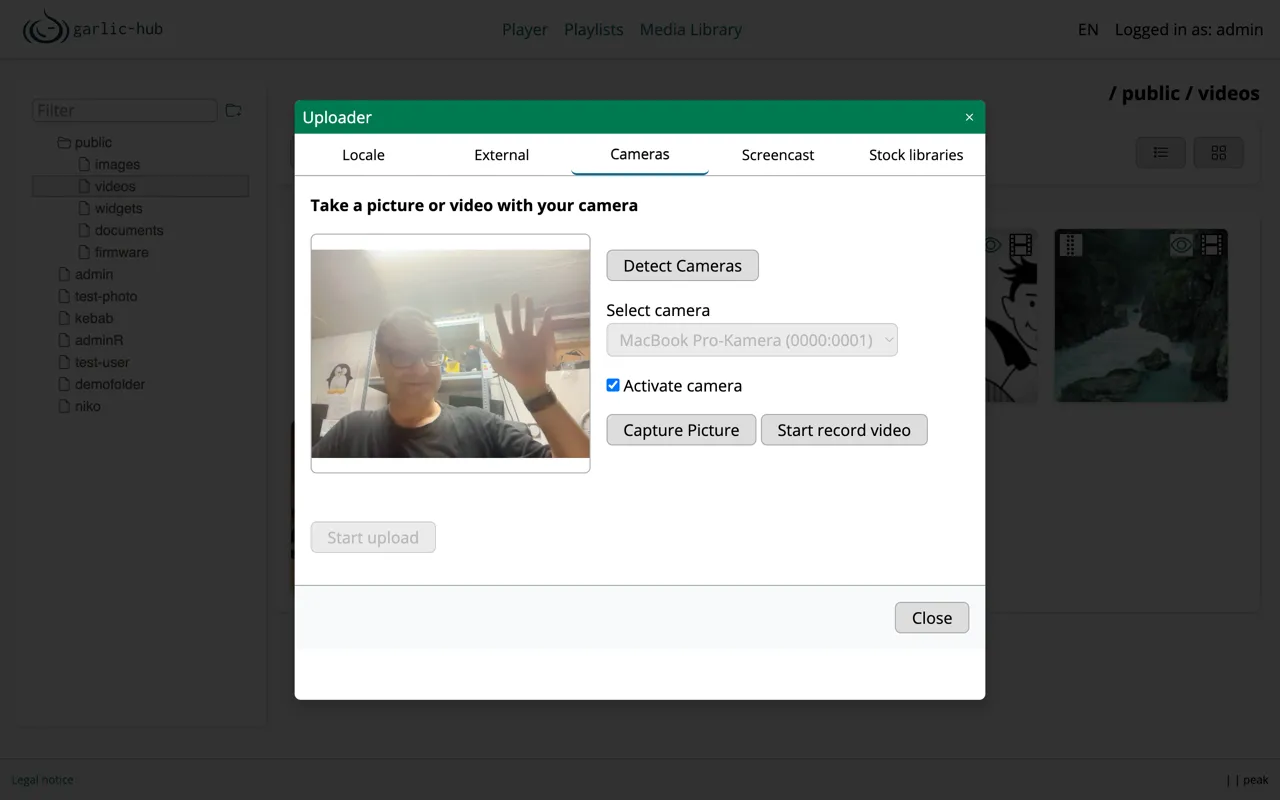
Capture a picture or record a video straight from a connected camera, without preparing a file first. This is useful for quick, on-the-spot content, for example, a snapshot of a notice or a short clip recorded right where you are.
Detect the cameras in your system, select one from the list, and activate it.
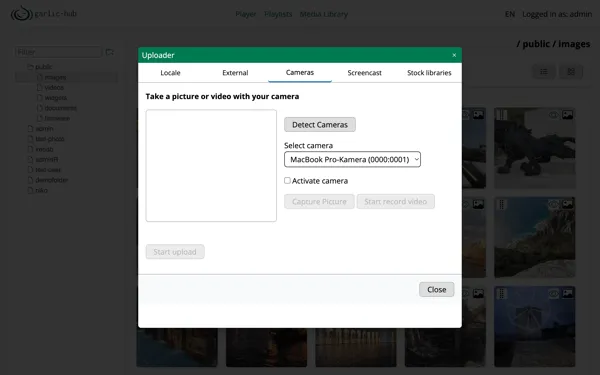
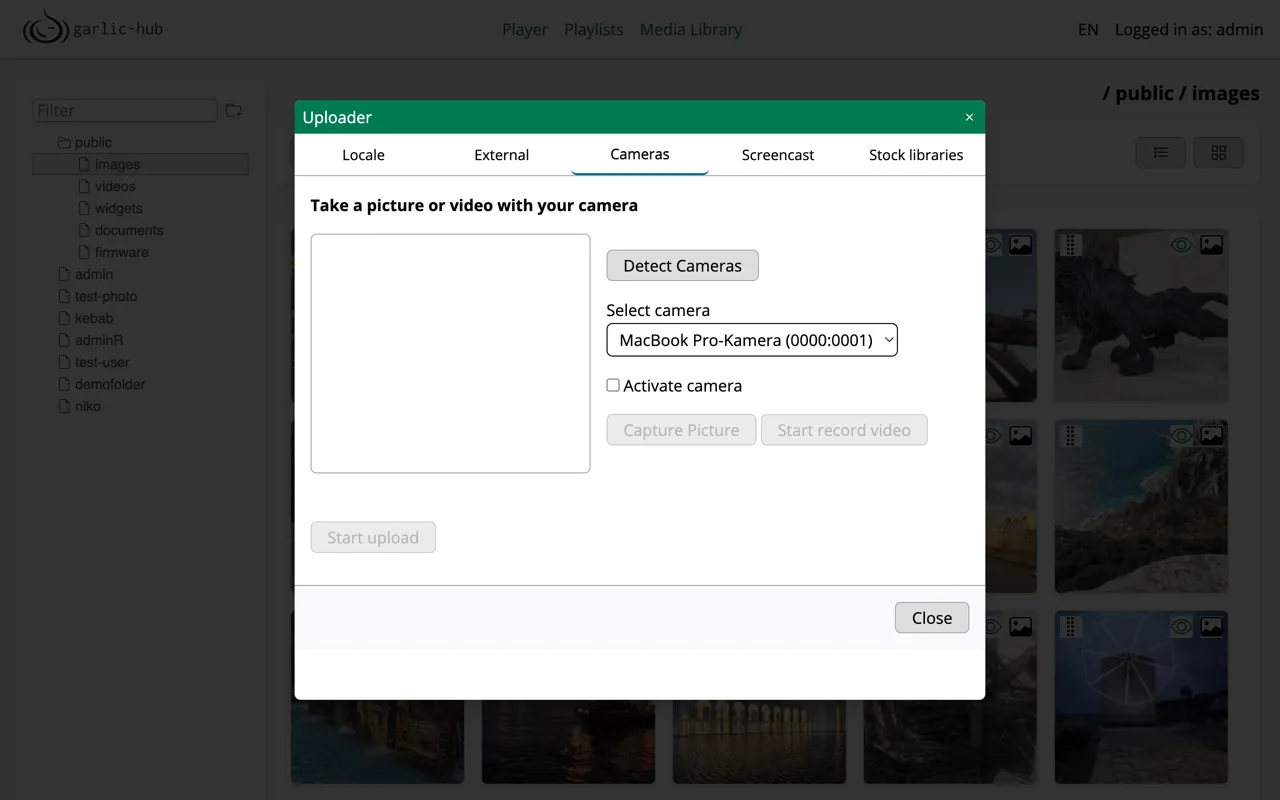
Once the camera is active, you see the live preview and can capture a still image or record a video.
Screencast
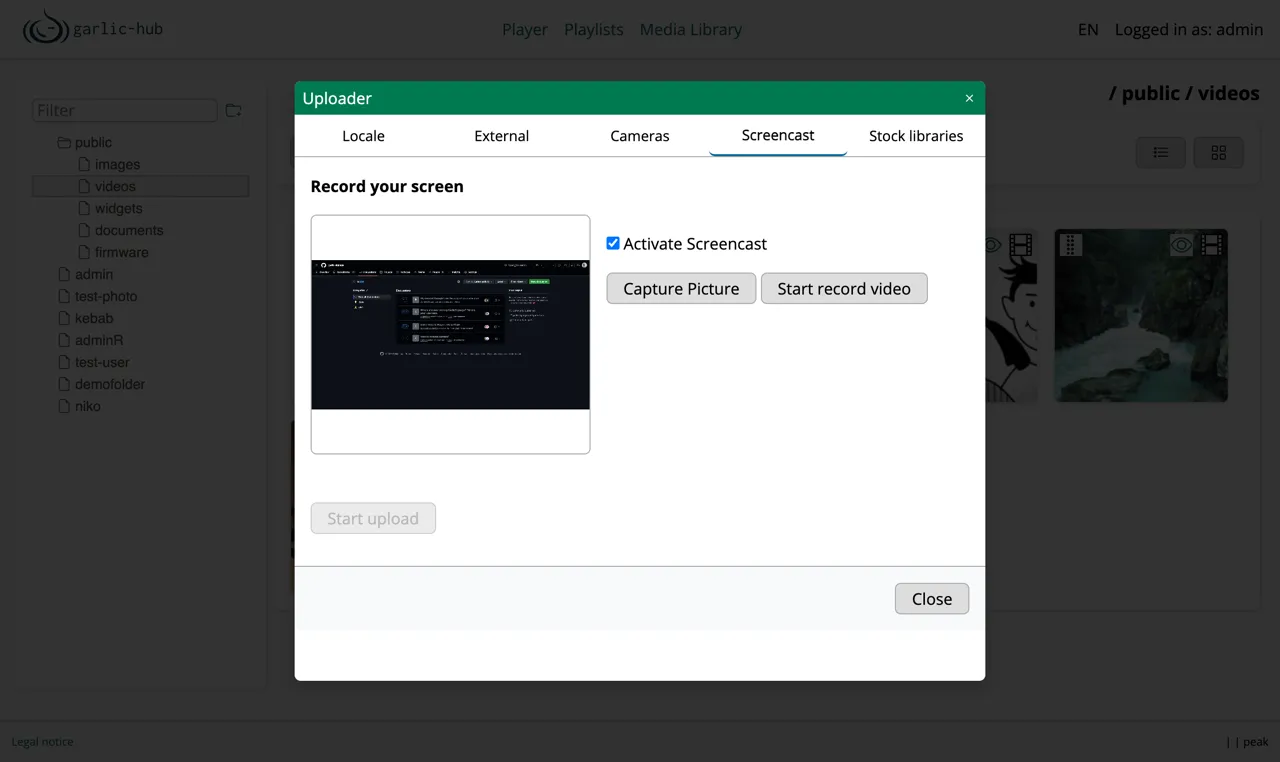
Record your screen directly into the Library, without a separate recording tool. This is mainly useful when the content you want to show is a screen activity rather than a ready-made file, for example, a short website walkthrough or a captured dashboard.
Activate the screencast, then capture a still frame or record a video of your screen.
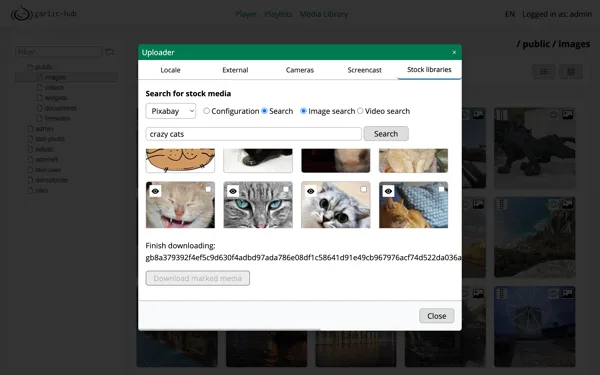
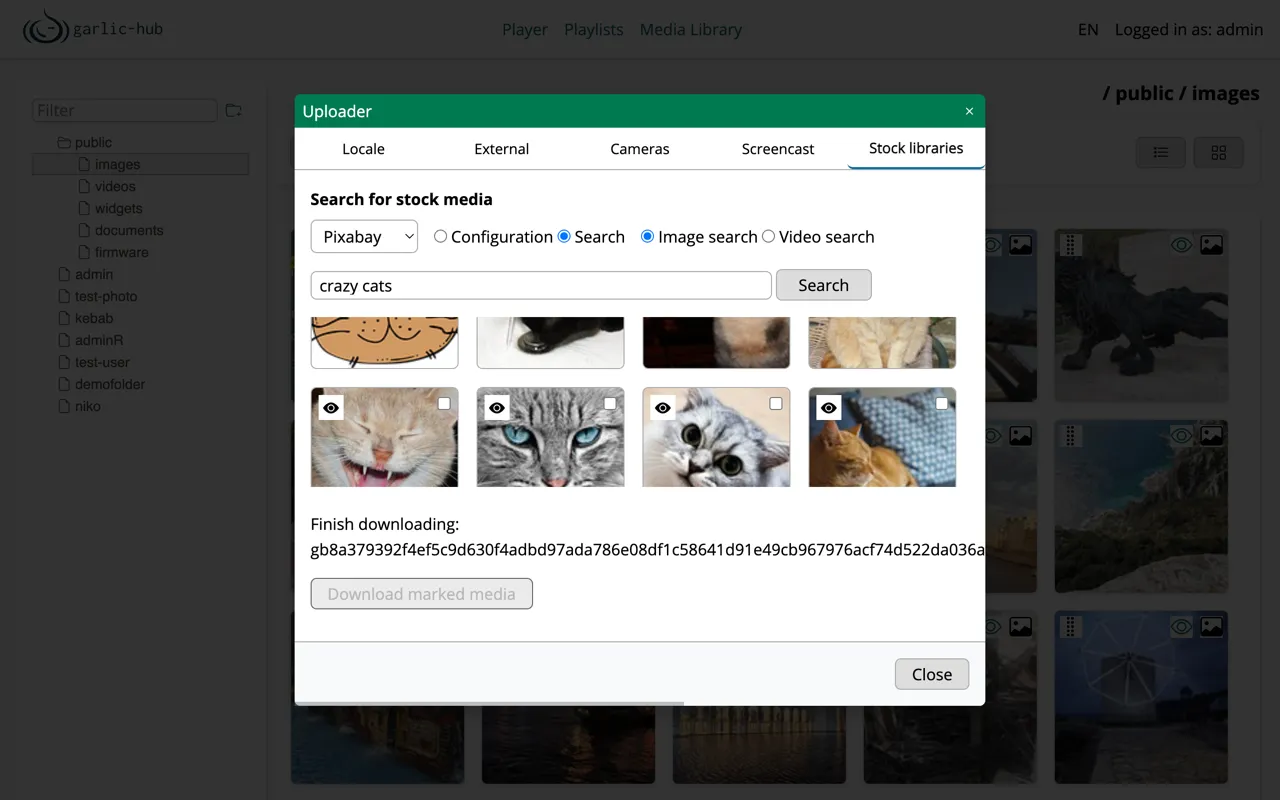
Stock Libraries
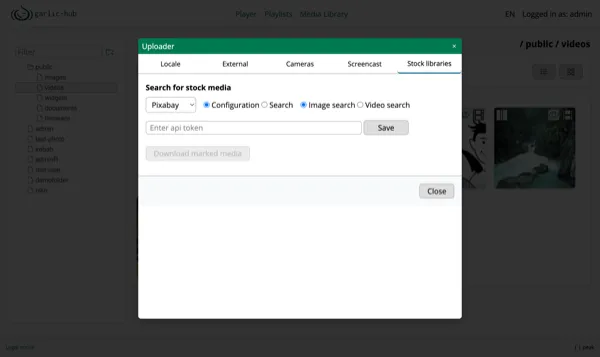
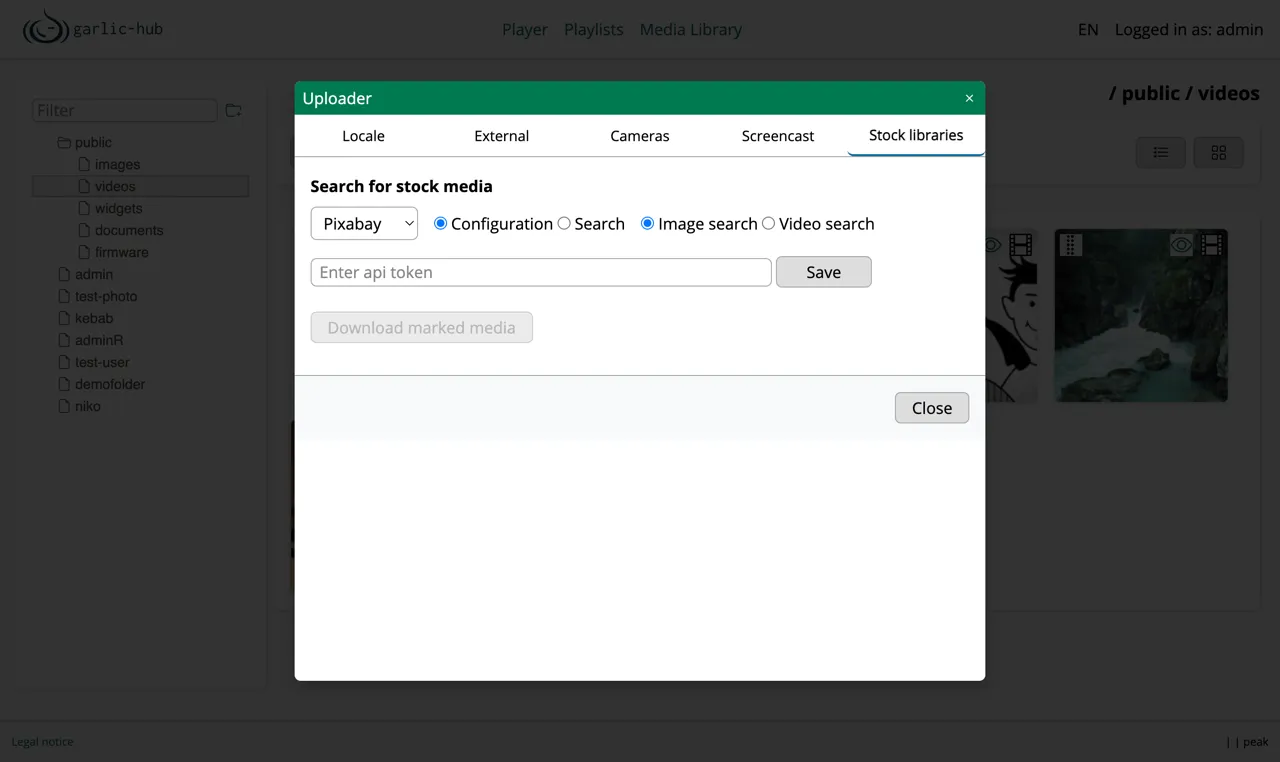
Search and import media from a stock provider (for example, Pixabay).
First open Configuration and enter the API token for the provider, then save it.
Switch to Search, choose image or video search, enter a search term, and run the search. Mark the items you want.
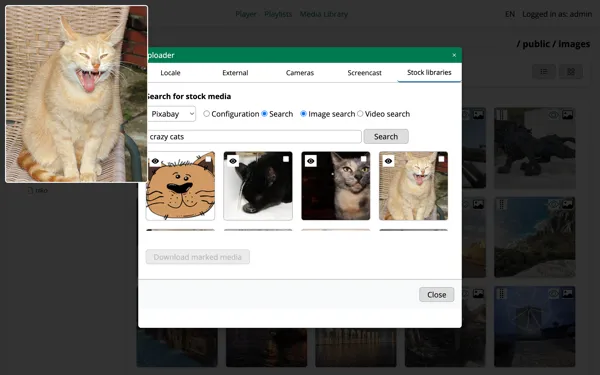
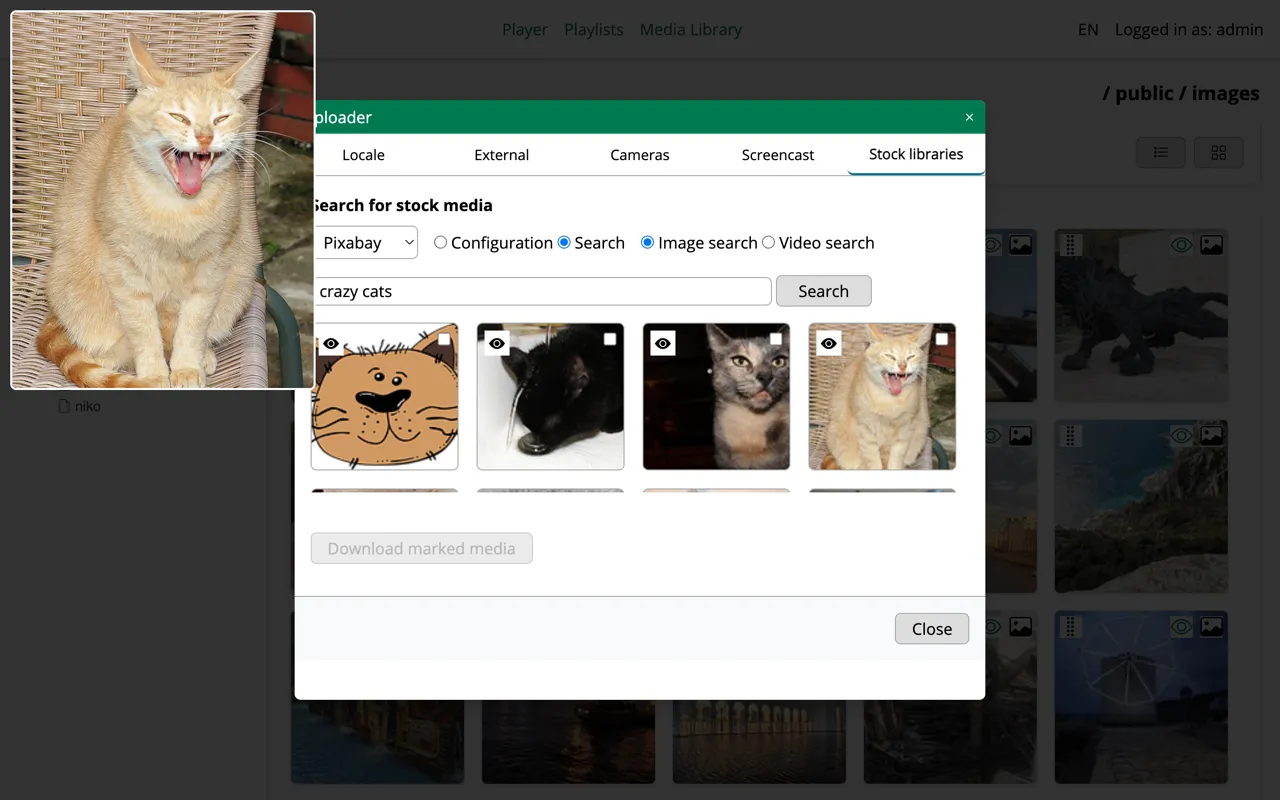
Use Download marked media to transfer the selected items into the current folder.
Supported Formats
| Type | Formats |
|---|---|
| Images | JPG, SVG, GIF, BMP, WebP, AVIF |
| Videos | All formats supported by FFmpeg |
| Audio | WAV, MP3 |
| Documents | |
| Widgets | Garlic widgets |
Limits
Garlic-Hub enforces a maximum resolution and per-type file size limit.
Maximum resolution: 3840 x 3840 pixels.
| Media type | Maximum file size |
|---|---|
| Images | 20 MB |
| Documents | 20 MB |
| Audio | 100 MB |
| Videos | 1 GB |
Generated previews use fixed dimensions: thumbnails at 300 x 200 pixels, previews at 640 x 360 pixels.
If a file exceeds its size limit or the maximum resolution, it is rejected with an error message after upload.
How Storage Works
A few behaviors are important to understand before you delete or duplicate media.
Files are stored by hash. Every uploaded file is stored on disk under a hash of its content. If several users upload the same file, it is written to disk only once and shared by reference. This saves storage and keeps duplicates from piling up.
Clone creates a reference, not a copy. Cloning a media item adds another reference to the same underlying file. No additional data is written to the disk.
Remove only affects the database. Removing a media item deletes its database entry. The physical file stays on disk because the same file can be referenced by other items, playlists, or templates (see how hash stores files above). Deleting the file physically would break those references and leave artifacts. As a result, removing an item does not free disk space on its own, and the same content can reappear without a new upload if it is referenced again.
From your point of view, a removed item disappears from the library and from any place that referenced it. It cannot be restored.